AI for Product Design: How to Turn Concept Sketches into Commercial 3D Renders
Discover how industrial designers, hardware startups, and product teams use AI sketch-to-image workflows to turn rough ideation sketches into photorealistic 3D renders with exact material control.
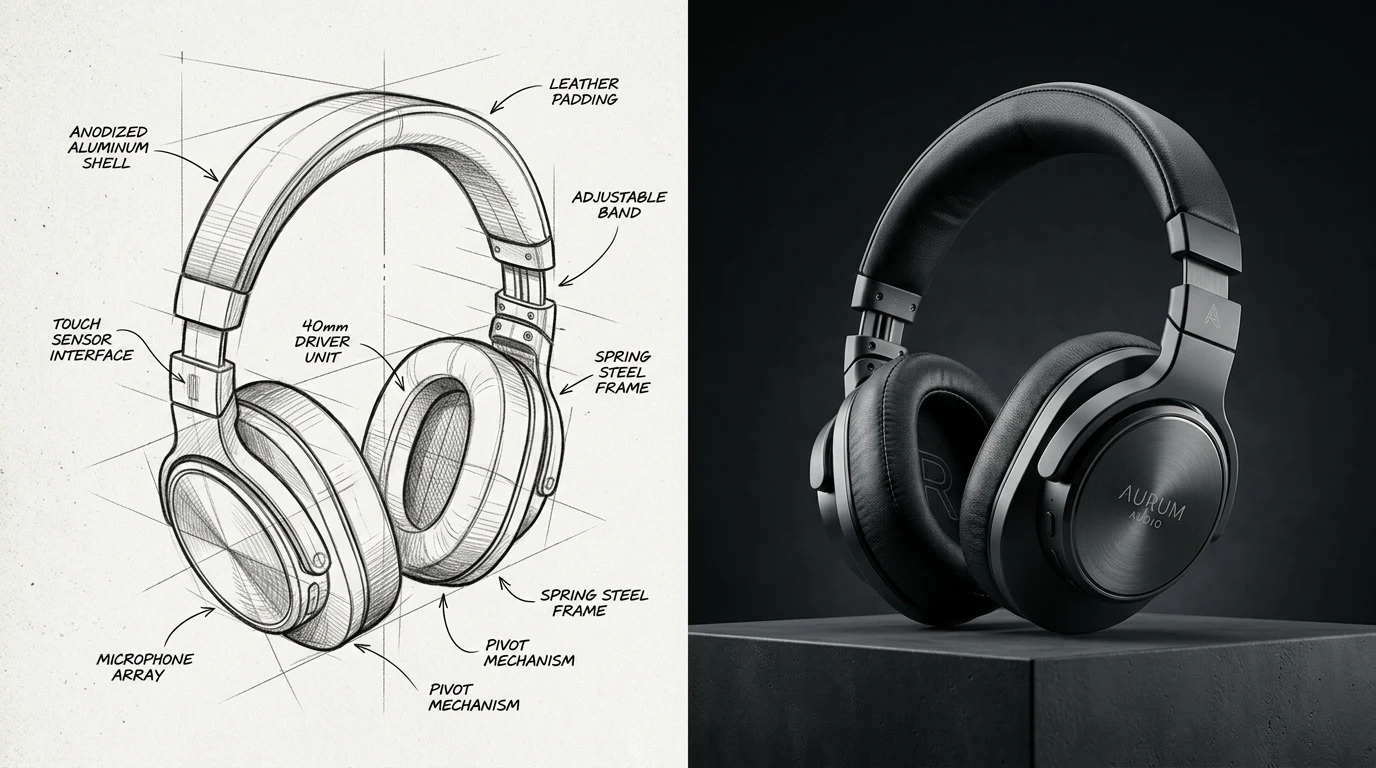
For industrial designers, hardware creators, and product teams, speed is the lifeblood of innovation. You spend fifteen minutes scribbling thumbnail silhouettes and cross-sections on drafting paper, discovering a fresh silhouette that feels right in your hands. But in the traditional development pipeline, that fast spark immediately hits a wall: the 3D modeling bottleneck.
Turning that rough concept sketch into a presentation-grade visual usually demands days of SolidWorks or Rhino CAD drafting, UV mapping, texture baking, and endless KeyShot lighting iterations. If the executive team or client dislikes the direction, those hours of surfacing labor vanish into the recycle bin.
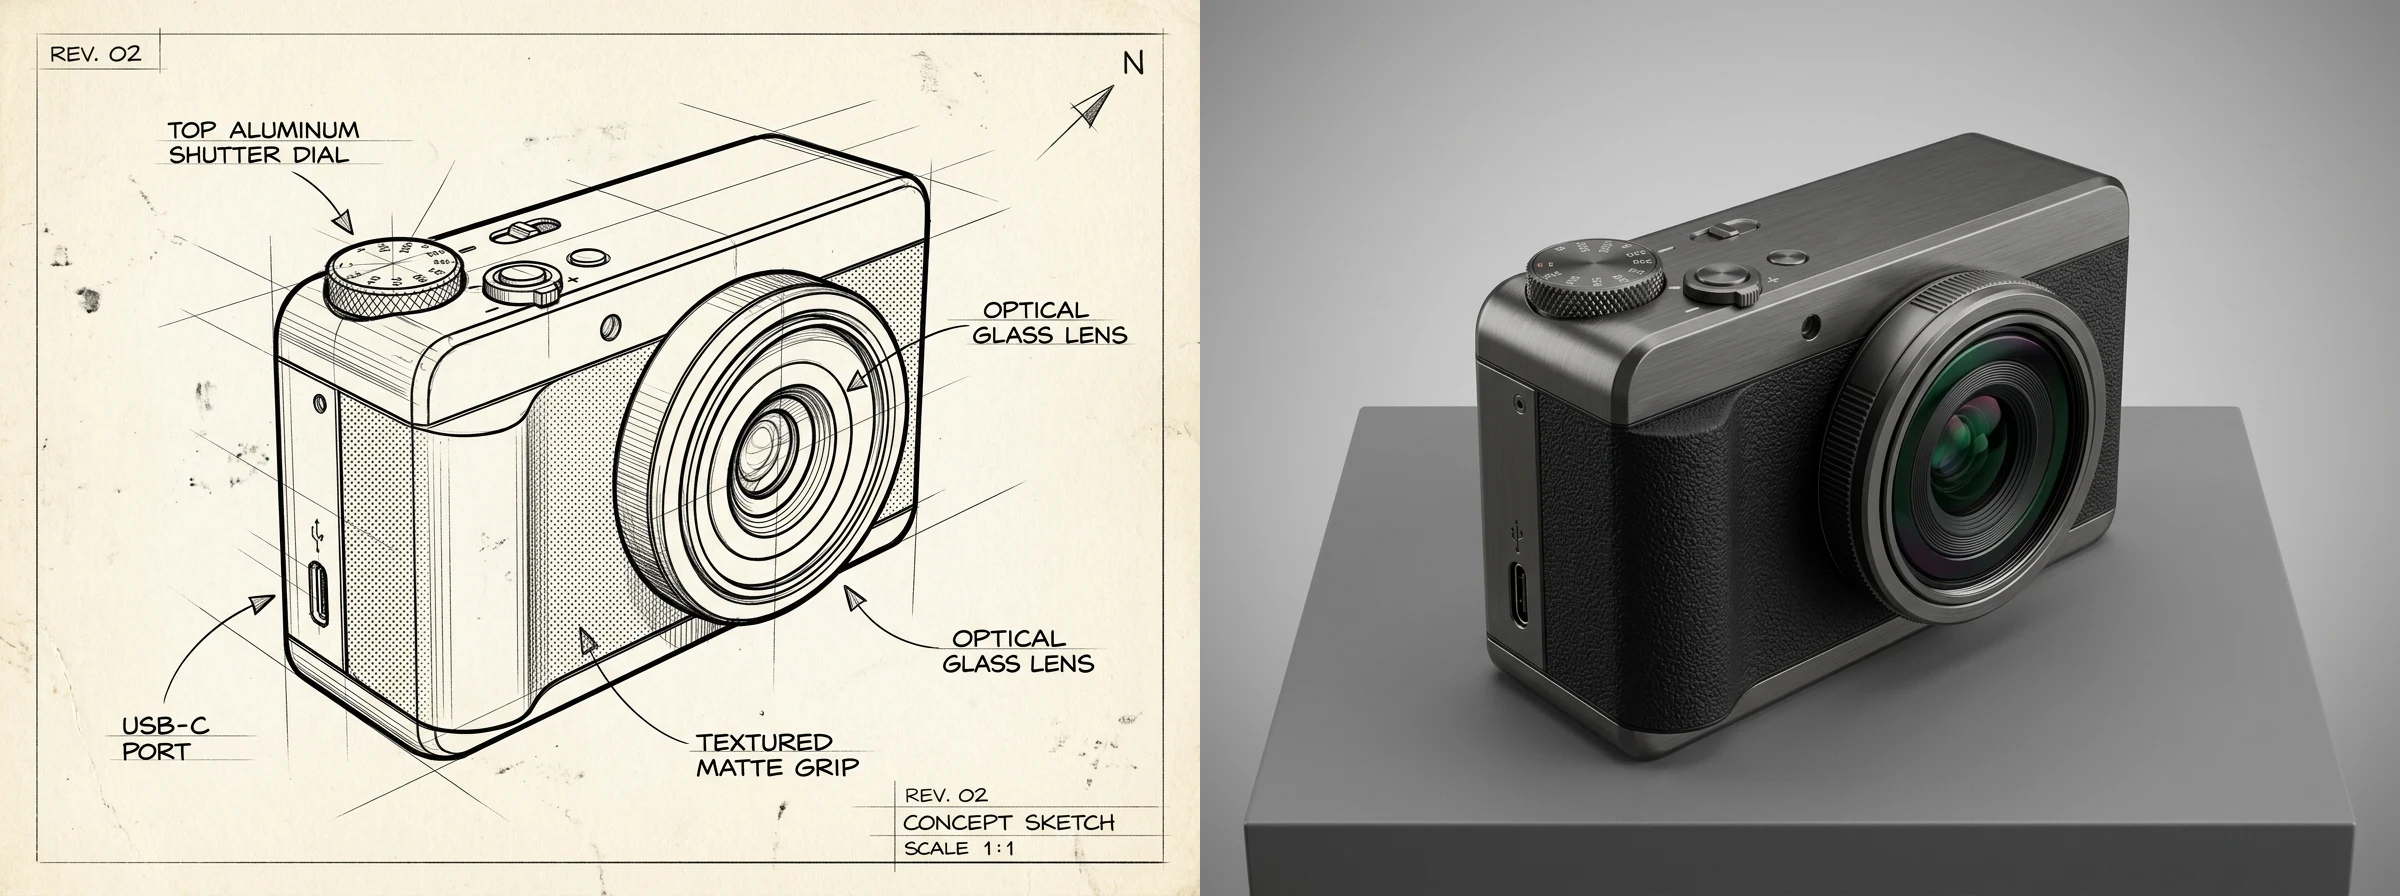
With the emergence of precision sketch-to-image AI, that friction has evaporated. Today, designers can take a loose ballpoint pen doodle or iPad Procreate sketch and generate production-grade commercial product photography in under twenty seconds—all while maintaining the exact proportions, parting lines, and mechanical intent of the original drawing.
The Problem with Generic Text-to-Image for Hard-Surface Design
Many design teams initially experimented with pure text-to-image generators like Midjourney or DALL-E, only to abandon them within weeks. While text prompts can produce beautiful mood boards, they fail completely when tasked with real product engineering for three specific reasons:
- Zero Geometric Repeatability: You cannot describe an ergonomic chamfer or a 2.5-degree draft angle in words. A text prompt generates random variations on every roll of the dice, making it impossible to iterate on a fixed physical form.
- The "Prompt Bleed" Curse: If you write "anodized dark titanium top plate with a knurled brass dial and a textured rubber grip", generic diffusion models frequently mix up the assignments—rendering rubberized dials, brass camera bodies, or shiny titanium grips.
- Hallucinated Physics and Scale: Standard AI models do not understand parting lines, USB-C port clearances, or lens barrel mechanics, resulting in bizarre melted forms that could never be manufactured.
To make AI practical for product design, the sketch itself must serve as the primary spatial constraint, while text directives are localized to specific regions.
The 4-Step Sketch-to-Product Pipeline
Here is the exact step-by-step workflow professional hardware and industrial design teams use in Draw3D to move from ideation linework to client-ready pitch renders.
Step 1: The Ideation Linework (Keep It Structural)
You do not need a gallery-ready watercolor rendering. What the AI needs most is structural clarity:
- Strong Silhouette: Clearly defined outer boundaries so the AI knows where the physical object ends and the studio backdrop begins.
- Cross-Section Contours: Simple hatching or contour lines that indicate curved surfaces versus flat faces.
- Parting Lines: Thin lines showing where different molded components assemble together.
Whether drawn with a fine-liner pen in an analog sketchbook, drafted in Procreate, or drawn directly inside Draw3D's browser canvas, rough linework is more than enough to establish spatial authority.
Step 2: CMF Directing with Multi-Region Tagging
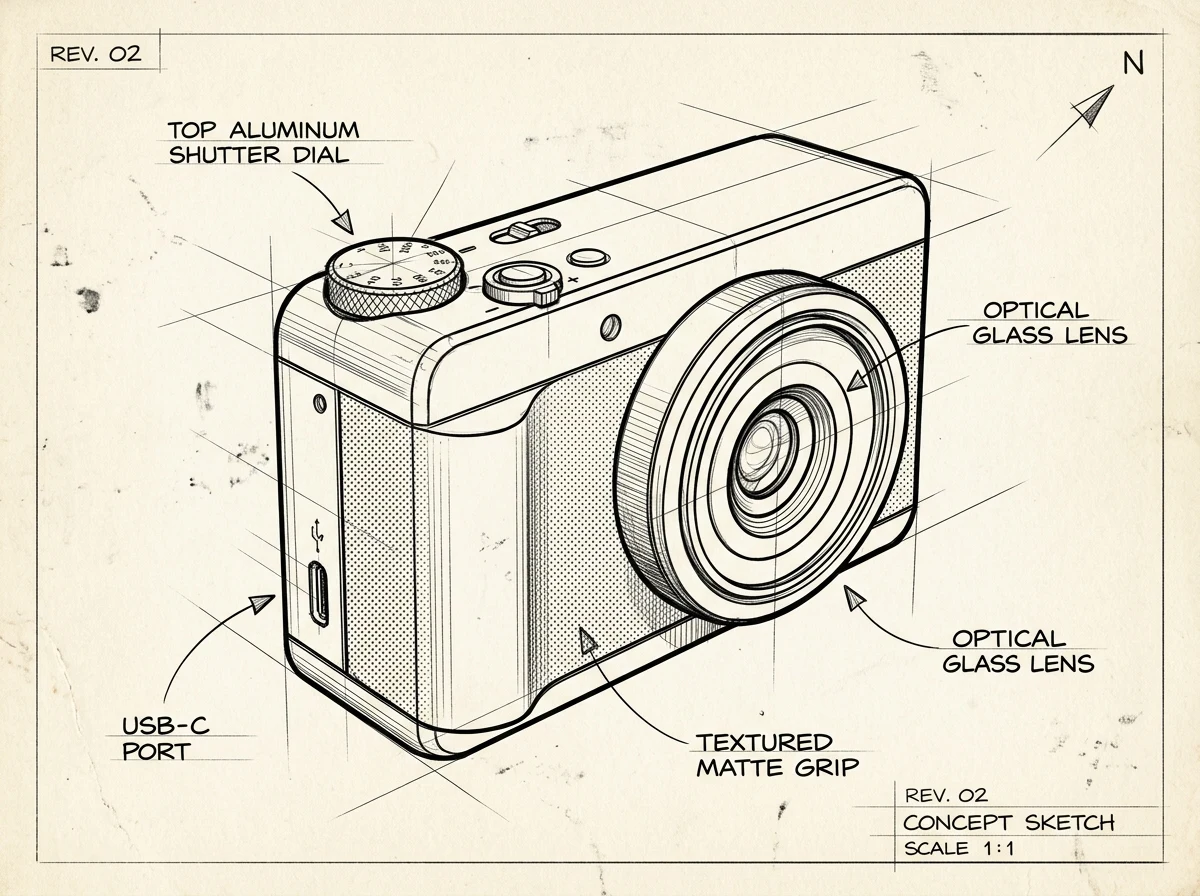
In professional design, CMF (Color, Material, Finish) is everything. Rather than writing a single chaotic paragraph prompt, Draw3D allows you to isolate individual components of your sketch and assign materials separately:
- Zone A (Chassis Top): Tagged as "brushed dark space grey titanium, subtle metallic grain".
- Zone B (Ergonomic Grip): Tagged as "matte black vulcanized rubber, fine pebble texture".
- Zone C (Shutter Dial): Tagged as "knurled aerospace aluminum, micro-machined facets".
- Zone D (Optics): Tagged as "multi-coated optical glass lens, anti-reflective purple and emerald green sheen".
Because each region is segmented, the AI applies the physics of each material strictly within its designated boundaries—completely eliminating prompt contamination.
Step 3: Studio Lighting & Camera Optics
Once your materials are assigned, you direct the virtual photography studio. Instead of manually positioning light meshes and adjusting bounce cards for hours, you select the lighting archetype that best flatters the product's geometry:
- Key Light + Rim Light: Ideal for hard-surface electronics and automotive parts to define silhouettes against dark backgrounds.
- Soft Overhead Diffusion: Perfect for softgoods, medical devices, and matte plastic consumer goods to showcase subtle form transitions without harsh glares.
- Cyclorama Pedestal: Neutral grey or white studio pedestals keep full focus on the product's CMF rather than distracting environmental noise.
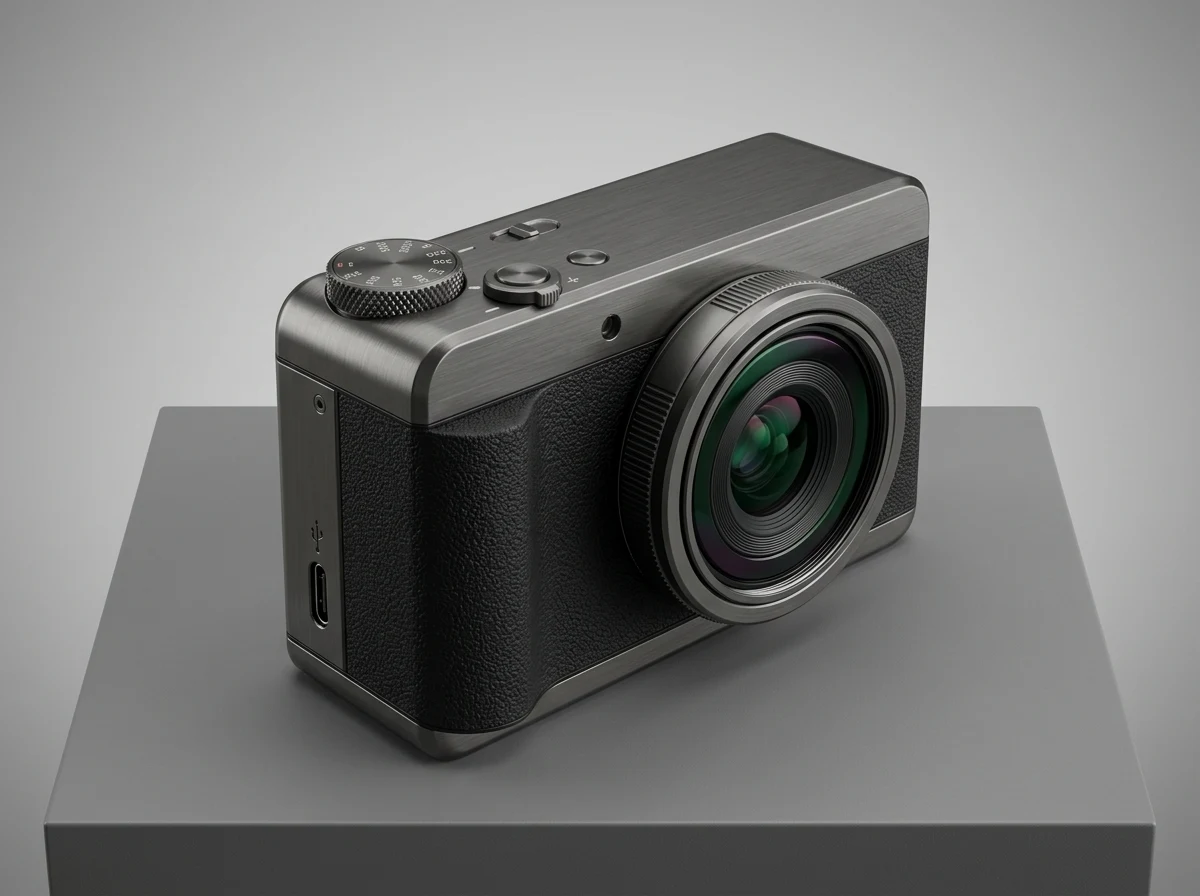
Step 4: Iterative Detailing, Inpainting & 8x Upscaling
The first render provides 90% of the visual answer in seconds. From there, you can refine:
- Inpainting Micro-Details: Need to add an engraved logo, swap a round button for a rocker switch, or adjust the indicator LED color? Simply brush over the area and prompt the revision without recalculating the rest of the image.
- 8x High-Fidelity Upscaling: When preparing billboard presentations, packaging mockups, or investor pitch decks, run the render through Draw3D's upscaler to reveal microscopic brushed metal grain and crisp seam lines without blur or distortion.
- Cinematic Turntable Videos: Use Draw3D's storyboard-to-video pipeline to transform your static product render into a 4-second smooth orbiting camera reveal for your presentation deck.
Where AI Sketch-to-Render Delivers the Highest ROI
Hardware teams and agencies are using this workflow across four primary design disciplines:
1. Consumer Electronics & Smart Hardware
Smart wearables, audio hardware, smart home sensors, and handheld tools require immediate tactile understanding. Designers can explore 20 different anodized colorways and grip knurl patterns in one afternoon before freezing the industrial design CAD.
2. Furniture & Architectural Objects
Transforming loose perspective drawings of bent-plywood chairs, marble coffee tables, or minimalist pendant luminaires into sunlit Scandinavian showrooms helps interior clients make rapid purchasing and manufacturing decisions.
3. Footwear & Softgoods
Translating dynamic marker shoe sketches into commercial footwear photography—complete with technical knit weaves, translucent TPU air bladders, and molded lug outsoles—allows athletic brands to test consumer sentiment months before cutting physical tooling.
4. Automotive & Transportation Styling
Transportation designers can take side-profile speedform lines and quickly visualize aerodynamic surfacing, specular reflections across sculpted fenders, and futuristic headlight clusters.
5 Best Practices for Flawless Product Renders
To get the most accurate results from any sketch-to-image workflow, keep these five principles in mind:
- 1. Anchor Your Horizon & Perspective: Ensure your sketch has a clear 2-point or 3-point perspective grid. If your lines diverge unnaturally, the AI may warp the product's depth.
- 2. Close Your Outlines: Avoid leaving major structural boundaries open-ended. Closed loops help the segmentation model clearly distinguish between distinct panels and components.
- 3. Specify Finish, Not Just Color: Say "matte bead-blasted grey aluminum" instead of just "grey metal". Precise material terminology yields dramatically more convincing specular highlights.
- 4. Leverage Reference Dummies: If you are working on an ergonomic grip, pair your sketch with a simple 3D bounding box or dummy blockout inside Draw3D's canvas to lock the volume before rendering.
- 5. Preserve Your Sketches: Keep your original pencil layers intact so you can re-render the same base geometry with alternate seasonal colorways and limited-edition finishes later.
The Future of Industrial Design Iteration
AI is not replacing industrial designers—it is eliminating the repetitive, low-leverage hours spent surfacing early concepts that might never see production. By shrinking the feedback loop between a sketch and a photorealistic visual from days to seconds, design teams can test ten times more ideas, eliminate weak concepts earlier, and arrive at superior physical products.
Whether you are an independent designer pitching a hardware startup, an agency presenting to Fortune 500 brands, or a student crafting an industrial portfolio, sketch-to-image AI gives you studio-grade rendering power directly in your browser.
Ready to transform your sketches into photoreal product renders? Try Draw3D today and bring your concepts to life in seconds.
Further Reading
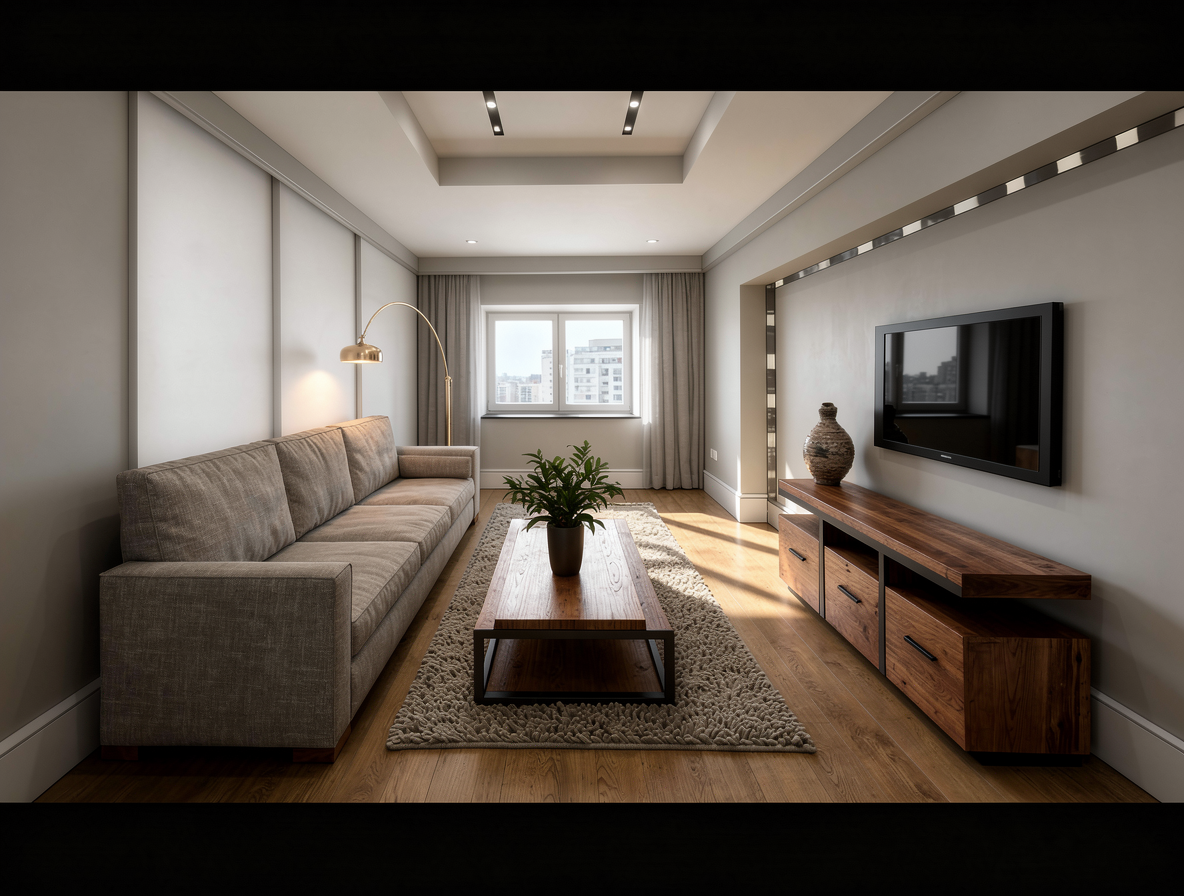
Turn Sketches into Photorealistic Images: How to Convert Any Drawing into a Photo with AI
Learn how to turn sketches into photorealistic images in seconds using AI. Discover how Draw3D locks lines and geometry to convert drawings into 8K photoreal renders.
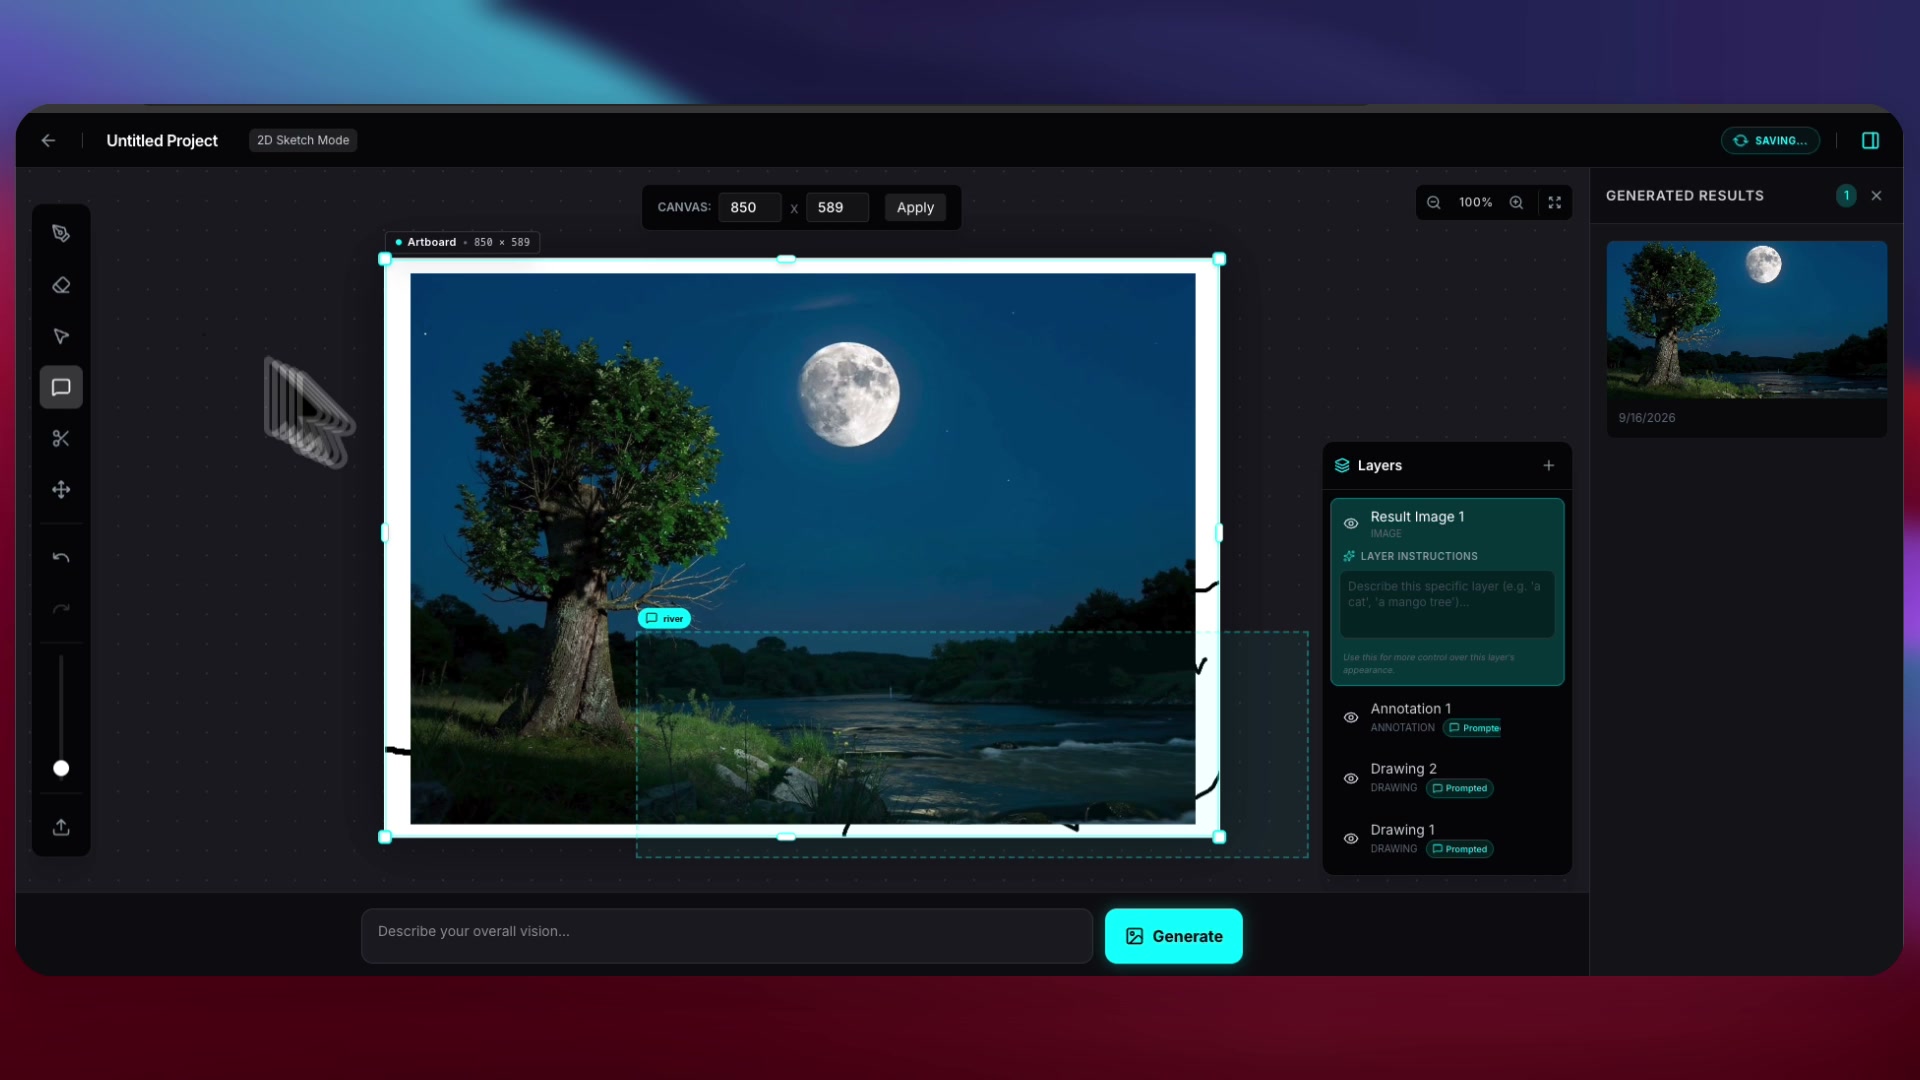
Turn Simple Doodles into Photorealistic Landscapes with AI: The Layer-by-Layer Drawing Workflow
Learn how to turn simple sketches and doodles into photorealistic landscapes using AI. Discover Draw3D's layer-based drawing canvas and spatial area prompts.
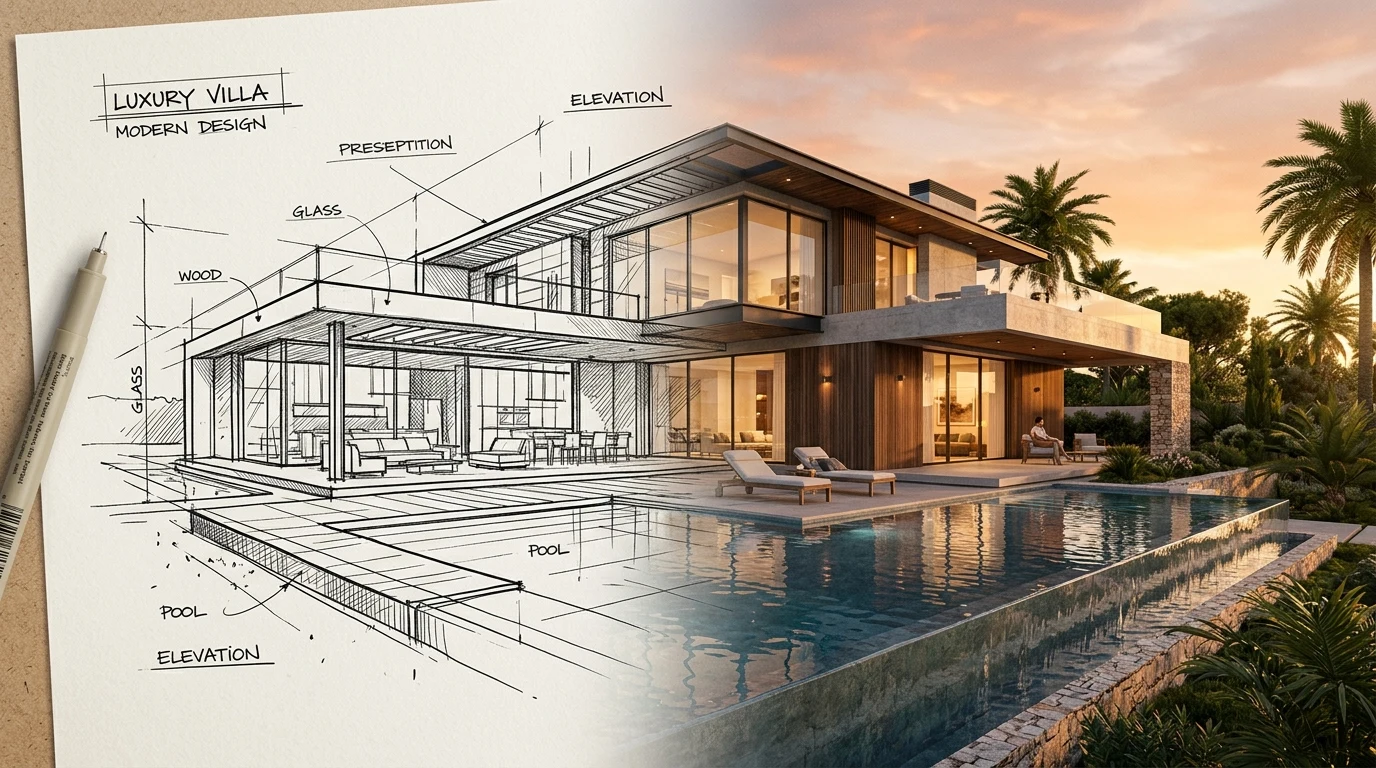
The 6 Best Free Sketch to Image AI Tools in 2026 (Tested & Ranked)
Looking for the best free sketch to image AI? We tested and ranked the top free tools in 2026—comparing real-time canvas drawing, line fidelity, export limits, and watermark policies.