Turn Simple Doodles into Photorealistic Landscapes with AI: The Layer-by-Layer Drawing Workflow
Learn how to turn simple sketches and doodles into photorealistic landscapes using AI. Discover Draw3D's layer-based drawing canvas and spatial area prompts.
For decades, digital art and concept design required years of technical mastery: learning perspective grids, mastering digital brushes, understanding atmospheric light falloff, and painting microscopic textures. If you could only draw basic stick figures, wobbly trees, and geometric shapes, bringing a breathtaking natural landscape to life felt impossible.
Generative AI promised to democratize this process, but standard text-to-image prompts introduced a different problem: a complete lack of compositional control. When you prompt "a serene moonlit river with a large oak tree on the left", the AI decides where to place the elements. If you want the tree moved three inches to the left or the river curving in a specific direction, re-prompting reshuffles the entire composition from scratch.
The solution is layer-based spatial AI sketching. By pairing intuitive 2D brush strokes with dedicated layer instructions and targeted area bounding boxes, anyone can turn simple doodles into photorealistic images while commanding exactly where every element lives in 3D space.
What is the Difference Between Text Prompting and Drawing Doodles with AI?
When you interact with standard AI tools via a single text prompt box, the neural network faces an under-constrained mathematical problem. A prompt like "landscape with a river and tree at night" has billions of mathematically valid solutions. The model must guess:
- Where does the camera sit? Is it a bird's-eye view, eye-level, or a worm's-eye angle?
- Which side of the frame contains the main focal point?
- How close is the foreground subject relative to the background horizon?
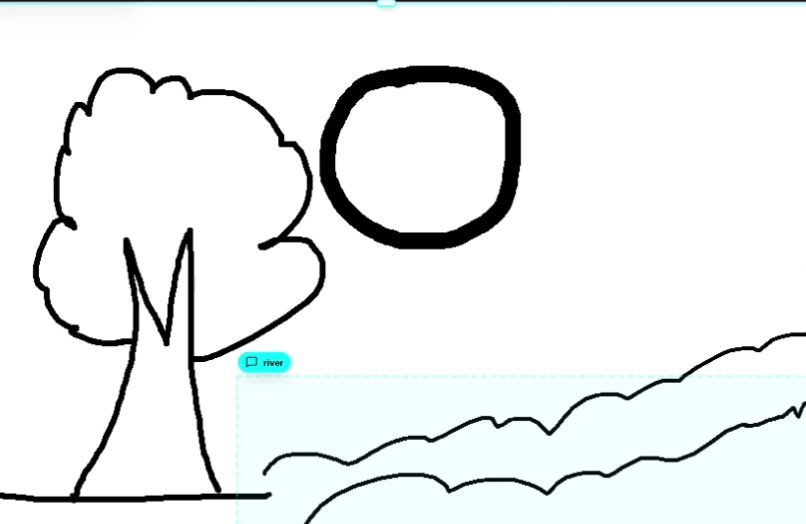
By contrast, drawing a doodle provides deterministic spatial boundary conditions. Even the roughest 5-second sketch establishes:
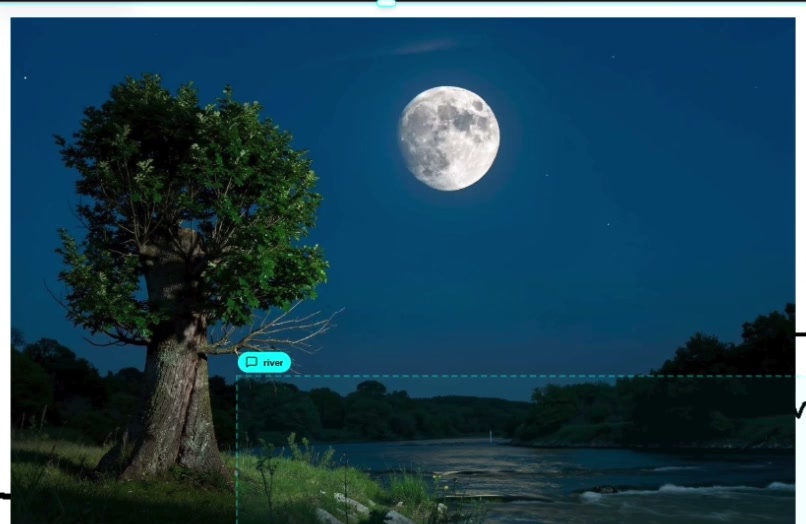
- Spatial Composition: The tree is on the left third of the artboard. The moon occupies the upper right quadrant. The river cuts across the lower right foreground.
- Focal Scale: The tree trunk extends from ground level to the upper canopy, establishing immediate foreground presence.
- Perspective Geometry: The shoreline curves toward the center, creating depth leading into the background hills.
How Does Draw3D Turn Simple Doodles into Photorealistic Landscapes?
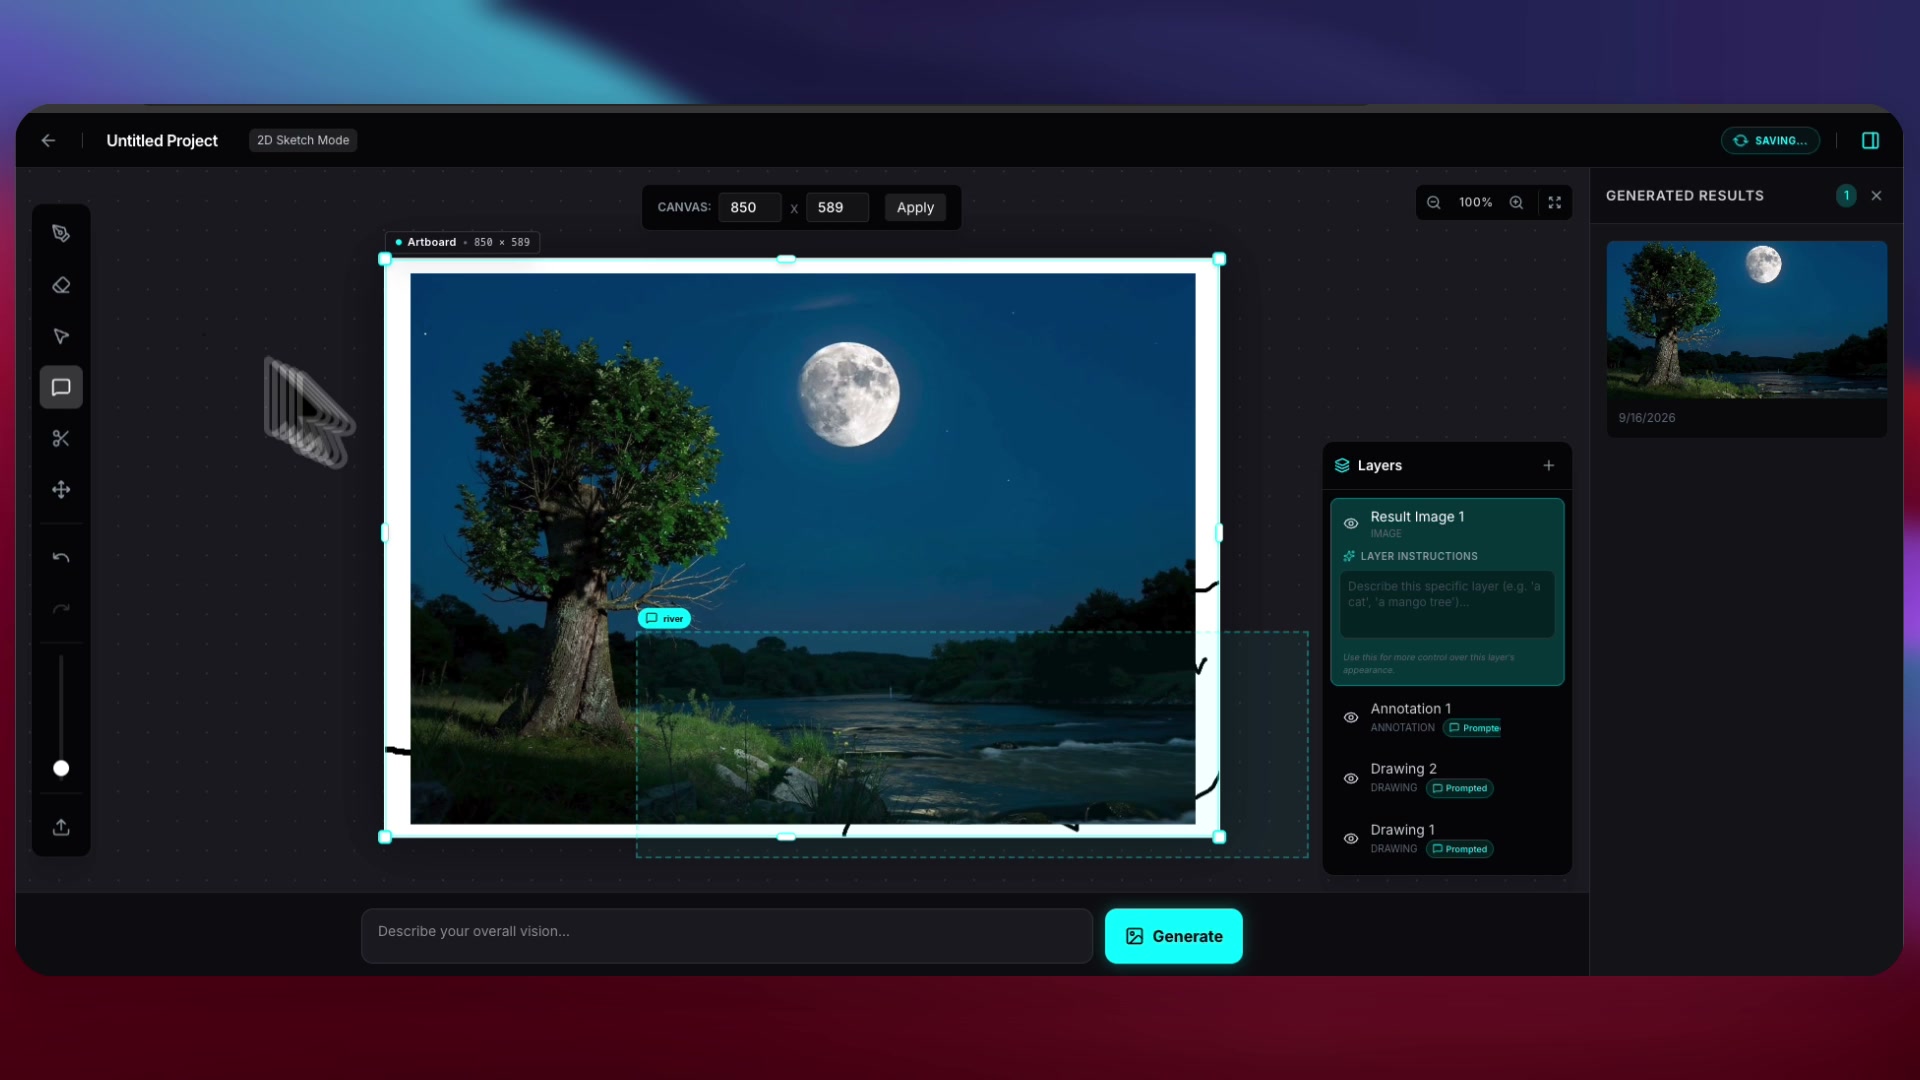
As demonstrated in the video above, Draw3D does not just treat your drawing as a flat filter mask. Instead, it runs your canvas through a three-stage spatial conditioning pipeline:
Structural Stroke Locking
The engine captures your stroke coordinates and locks their silhouette. The AI is prevented from removing the tree or shifting the moon into the center of the frame.
Layer-Specific Conditioning
Instead of mixing your prompt keywords, Draw3D binds natural language instructions directly to individual drawing layers (e.g. Drawing 1 → "A tree", Drawing 2 → "Moon").
Cross-Attention Diffusion
During synthesis, the AI calculates physical light interactions: the moon emits realistic radiance that casts specular highlights across the river water and grazing rim light across the tree bark.
How Does the Layer-Based Drawing Canvas Work in Draw3D?
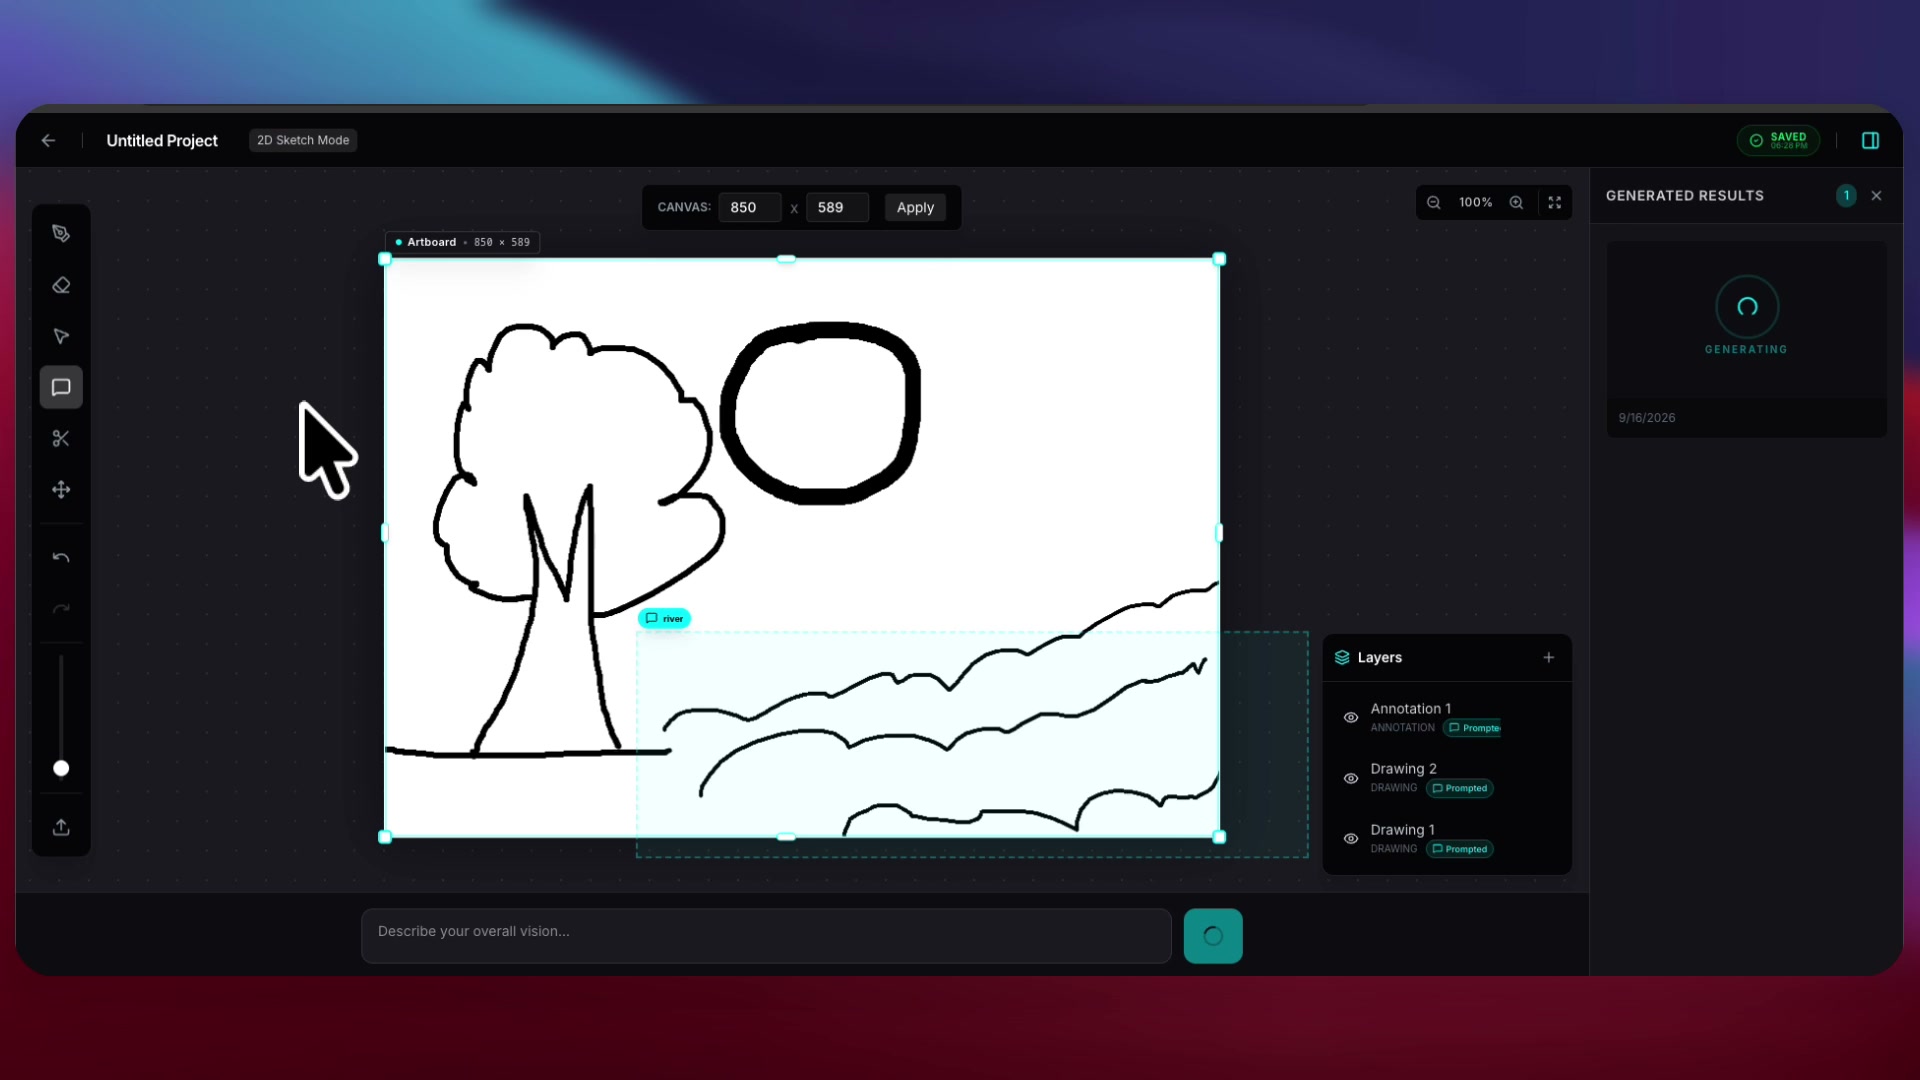
The key innovation highlighted in the video is Draw3D's Multi-Layer & Annotation Canvas. Traditional AI painting tools merge all sketch lines into a single flattened bitmap. Draw3D treats your canvas as an organized hierarchy:
1. Independent Drawing Layers
When you sketch an element like a tree, it sits on its own layer (Drawing 1). In the layer inspector, you can add explicit Layer Instructions (e.g., "A tree" or "An ancient mossy oak tree with dense foliage"). This informs the diffusion model exactly what semantic material to synthesize inside that specific stroke boundary.
2. Spatial Area Annotations (Bounding Boxes)
Notice how in the video, the user draws simple wavy lines for the water, then selects the Annotation tool and drags a rectangular bounding box across the bottom section labeled river.
Spatial annotations give you localized control without needing to paint pixel-perfect masks. The neural network recognizes that the enclosed region represents a flowing body of water, prompting it to generate foam rapids, water ripples, and riverbank pebbles automatically.
How to Turn Your Doodles into Photorealistic Images: A 5-Step Tutorial
Follow this step-by-step workflow in the Draw3D Studio Workspace to create your own photorealistic scenes from rough doodles:
Create a New Project in 2D Sketch Mode
From the Draw3D project hub, select 2D Sketch Mode. Define your canvas aspect ratio (e.g., 850 × 589 for a cinematic 16:11 landscape, or 16:9 for widescreen visuals).
Draw Your Primary Subject on Layer 1
Select the brush tool from the left toolbar. Draw the basic contour of your main focal subject (such as a tree trunk and foliage outline). In the right-hand Layers panel, open Drawing 1 and type your layer instruction: A tree.
Add Secondary Layers for Background & Lighting Elements
Click the + button in the Layers panel to create Drawing 2. Draw secondary elements such as a celestial body (circle for the moon), mountain ridges, or architectural outlines. Add the corresponding layer instruction (e.g. Moon).
Define Regional Context with Spatial Area Annotations
Use the Annotation tool to draw bounding boxes over contextual zones (like the foreground water or terrain). Type localized keywords such as river, rocky trail, or wildflower field.
Generate, Place onto Canvas, or Animate
Click Generate. In 4 to 8 seconds, your photoreal render appears in the Generated Results drawer. Click + Canvas to place the rendered image directly onto your artboard as Result Image 1. From here, you can upscale to 8K or click Animate to transform your static landscape into a cinematic moving video!
What Prompt Formulas Work Best When Converting Simple Drawings?
Because your layers and annotations supply the geometry and object identities, your prompt doesn't need to describe the layout. Use this formula to direct the lighting atmosphere and photographic style:
| Scene Type | Recommended Prompt Example | Key Lighting Tokens |
|---|---|---|
| Moonlit River Landscape | "Nighttime wilderness, full moon illuminating river rapids, cold deep blue atmosphere, soft water reflections" | Moonlight specular bounce, long exposure water, twilight rim light |
| Golden Hour Mountain Ridge | "Warm golden hour sunset over jagged alpine peaks, sunbeams piercing through valley haze, cinematic landscape" | Volumetric god rays, warm 3200K side light, atmospheric haze |
| Misty Forest Path | "Dense pine woodland, heavy morning fog rising from damp earth, diffused emerald green foliage, quiet solitude" | Diffused overcast lighting, soft shadows, moisture specular glints |
Turn your doodles into photorealistic masterpieces
No art school degree required. Pick up a digital brush or upload your rough sketch, label your layers, and watch Draw3D synthesize cinematic renders in seconds.
Frequently Asked Questions About Turning Doodles into Photorealistic Images
Do my doodles need to be detailed or anatomically accurate?
Not at all. As demonstrated in the video, very basic shapes—such as a single curved trunk with a cloud-shaped canopy for a tree, a simple circle for the moon, and wavy lines for a river—are completely sufficient. Draw3D interprets the spatial intent and fills in realistic bark fissures, leaves, water turbulence, and lunar craters.
Can I turn physical paper doodles into photoreal images?
Yes. You can take a photo of any drawing on paper, a napkin sketch, or whiteboard brainstorming session and upload it directly to Draw3D. You can then use the Annotation tool to mark specific regions or trace over lines on new layers.
How do layer instructions differ from the main prompt?
Layer instructions tell the AI what a specific group of strokes represents (e.g. Drawing 1 → "A tree"), while the main prompt guides the overall environmental atmosphere, lighting, camera angle, and artistic style. This separation prevents prompt confusion where the AI might accidentally paint trees in the sky or moon textures on the ground.
Can I animate my generated landscape into a video?
Yes! In the Generated Results drawer, you will notice an Animate button directly beside the image. Clicking Animate triggers Draw3D's image-to-video diffusion engine, creating dynamic camera pans, gentle water currents, and atmospheric cloud movement directly from your render.
What resolution can I export my photorealistic scenes in?
All generated images can be upscaled natively to 4K and 8K resolutions using Draw3D's high-definition neural upscaler, making them suitable for commercial print, desktop wallpapers, concept art portfolios, and video backgrounds.
Further Reading
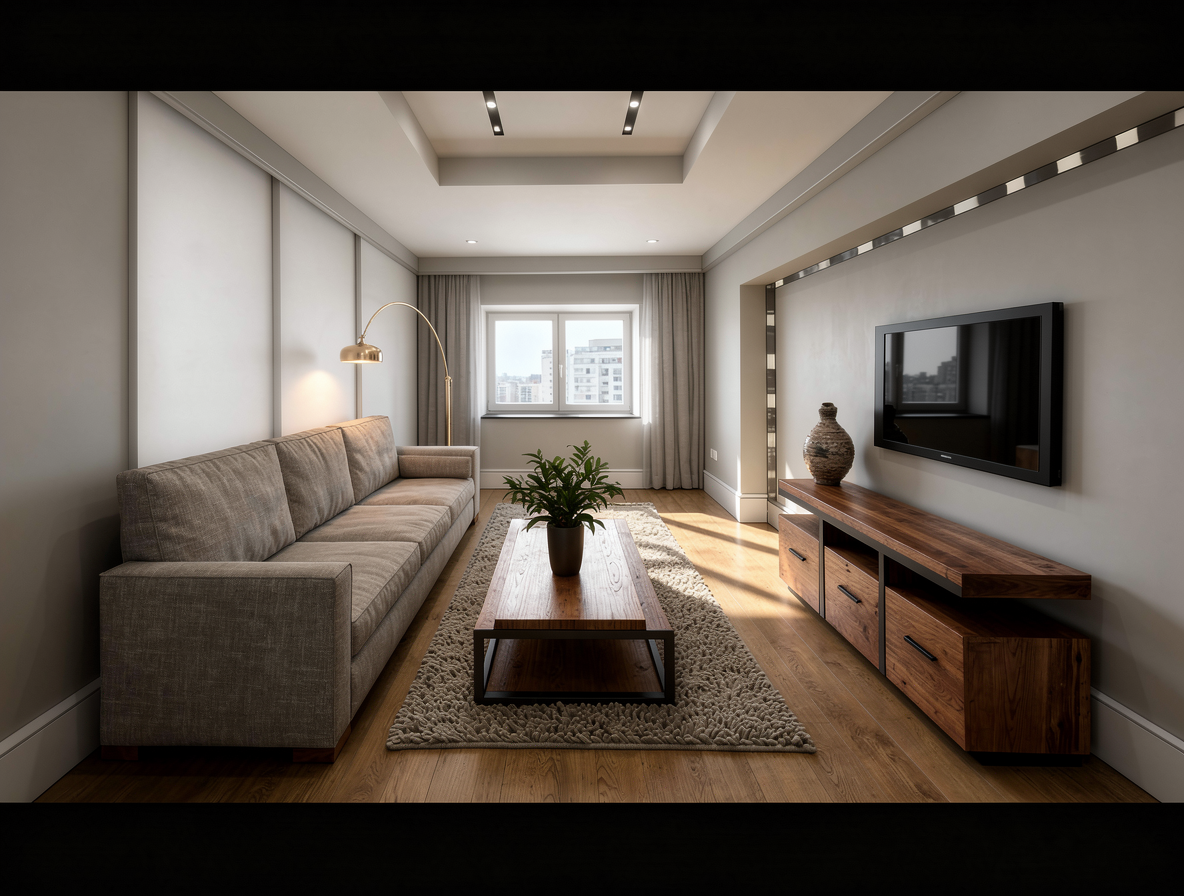
Turn Sketches into Photorealistic Images: How to Convert Any Drawing into a Photo with AI
Learn how to turn sketches into photorealistic images in seconds using AI. Discover how Draw3D locks lines and geometry to convert drawings into 8K photoreal renders.
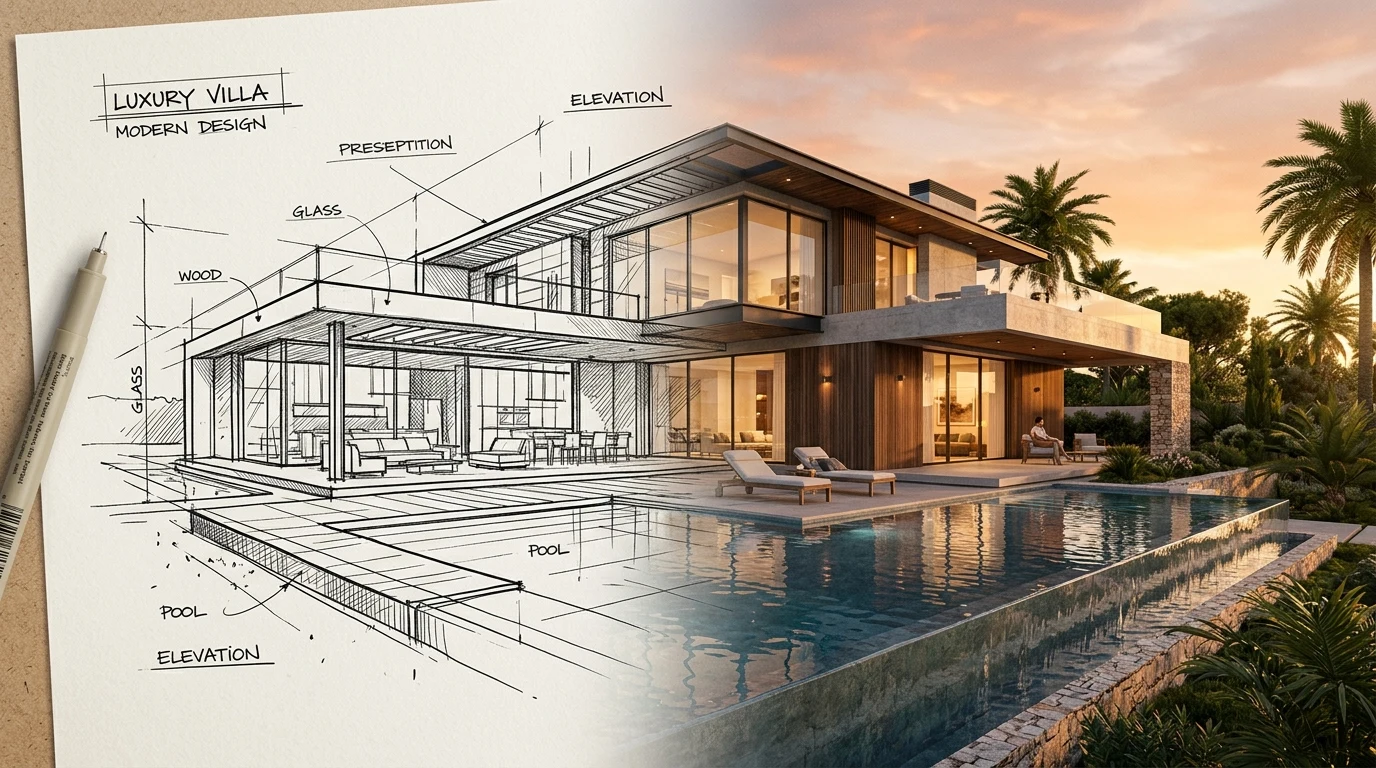
The 6 Best Free Sketch to Image AI Tools in 2026 (Tested & Ranked)
Looking for the best free sketch to image AI? We tested and ranked the top free tools in 2026—comparing real-time canvas drawing, line fidelity, export limits, and watermark policies.
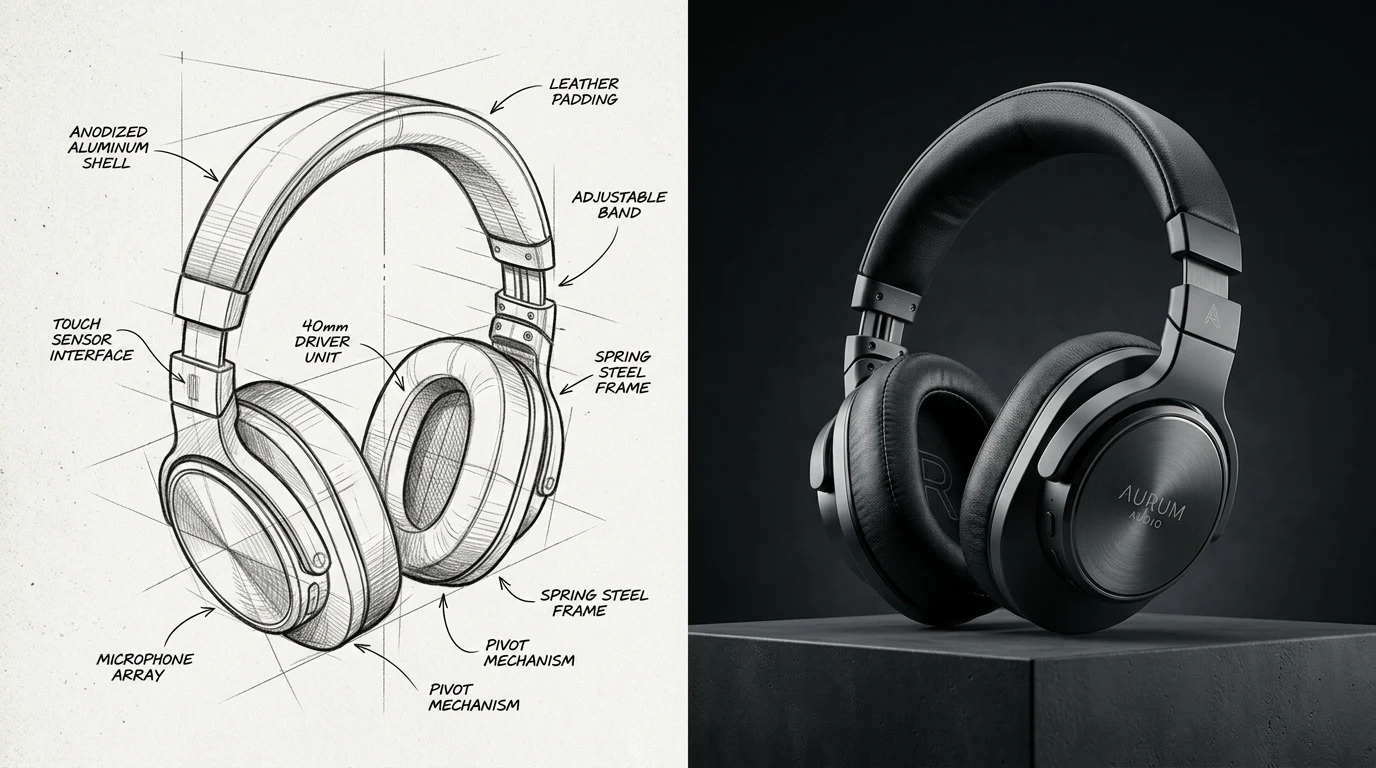
AI for Product Design: How to Turn Concept Sketches into Commercial 3D Renders
Discover how industrial designers, hardware startups, and product teams use AI sketch-to-image workflows to turn rough ideation sketches into photorealistic 3D renders with exact material control.