Precise Image Editing and Manipulation Using AI: The Multi-Region Canvas Workflow
Discover how to achieve precise image editing and manipulation using AI. Learn multi-region spatial annotations, targeted inpainting, and selective feature control without regenerating your entire image.
Generative AI has fundamentally mastered creating stunning images from scratch. But ask any working designer, concept artist, or commercial creator about their biggest frustration with standard AI tools, and you will hear the exact same complaint: a complete lack of precision.
When you need to adjust an eye color, introduce a specific prop on a table, or cast light from a new fixture, typing a revised prompt into a standard text-to-image generator re-rolls the entire composition. The subject moves, the background morphs, and hours of creative progress vanish.
True commercial production demands precise image editing and manipulation using AI—a workflow where you can pinpoint exact coordinate regions, direct individual elements with localized natural language, and let the AI synthesize coherent modifications without compromising the rest of your scene.
The Dilemma: Why Global Text Prompts Fail at Precise Manipulation
Standard diffusion models process prompts holistically. If you start with a photorealistic image of a cat and decide to add a plush dog toy next to it, prompting "a cute cat sitting next to a plush dog doll with green eyes" triggers a complete latent re-sampling:
- Subject Drift: The cat’s breed, pose, fur patterning, and posture change completely.
- Spatial Uncertainty: The AI decides where to put the new object, often placing it in awkward positions or clipping through the main subject.
- Style & Lighting Mismatches: The overall color grading shifts, breaking continuity with previous project assets.
Traditional brush-based inpainting was a step forward, but manually painting white masks over complex shapes often creates noticeable seams, edge halos, or perspective dissonance because the masked region has no awareness of how it interacts with the rest of the canvas.
The Solution: Multi-Region Spatial Annotations
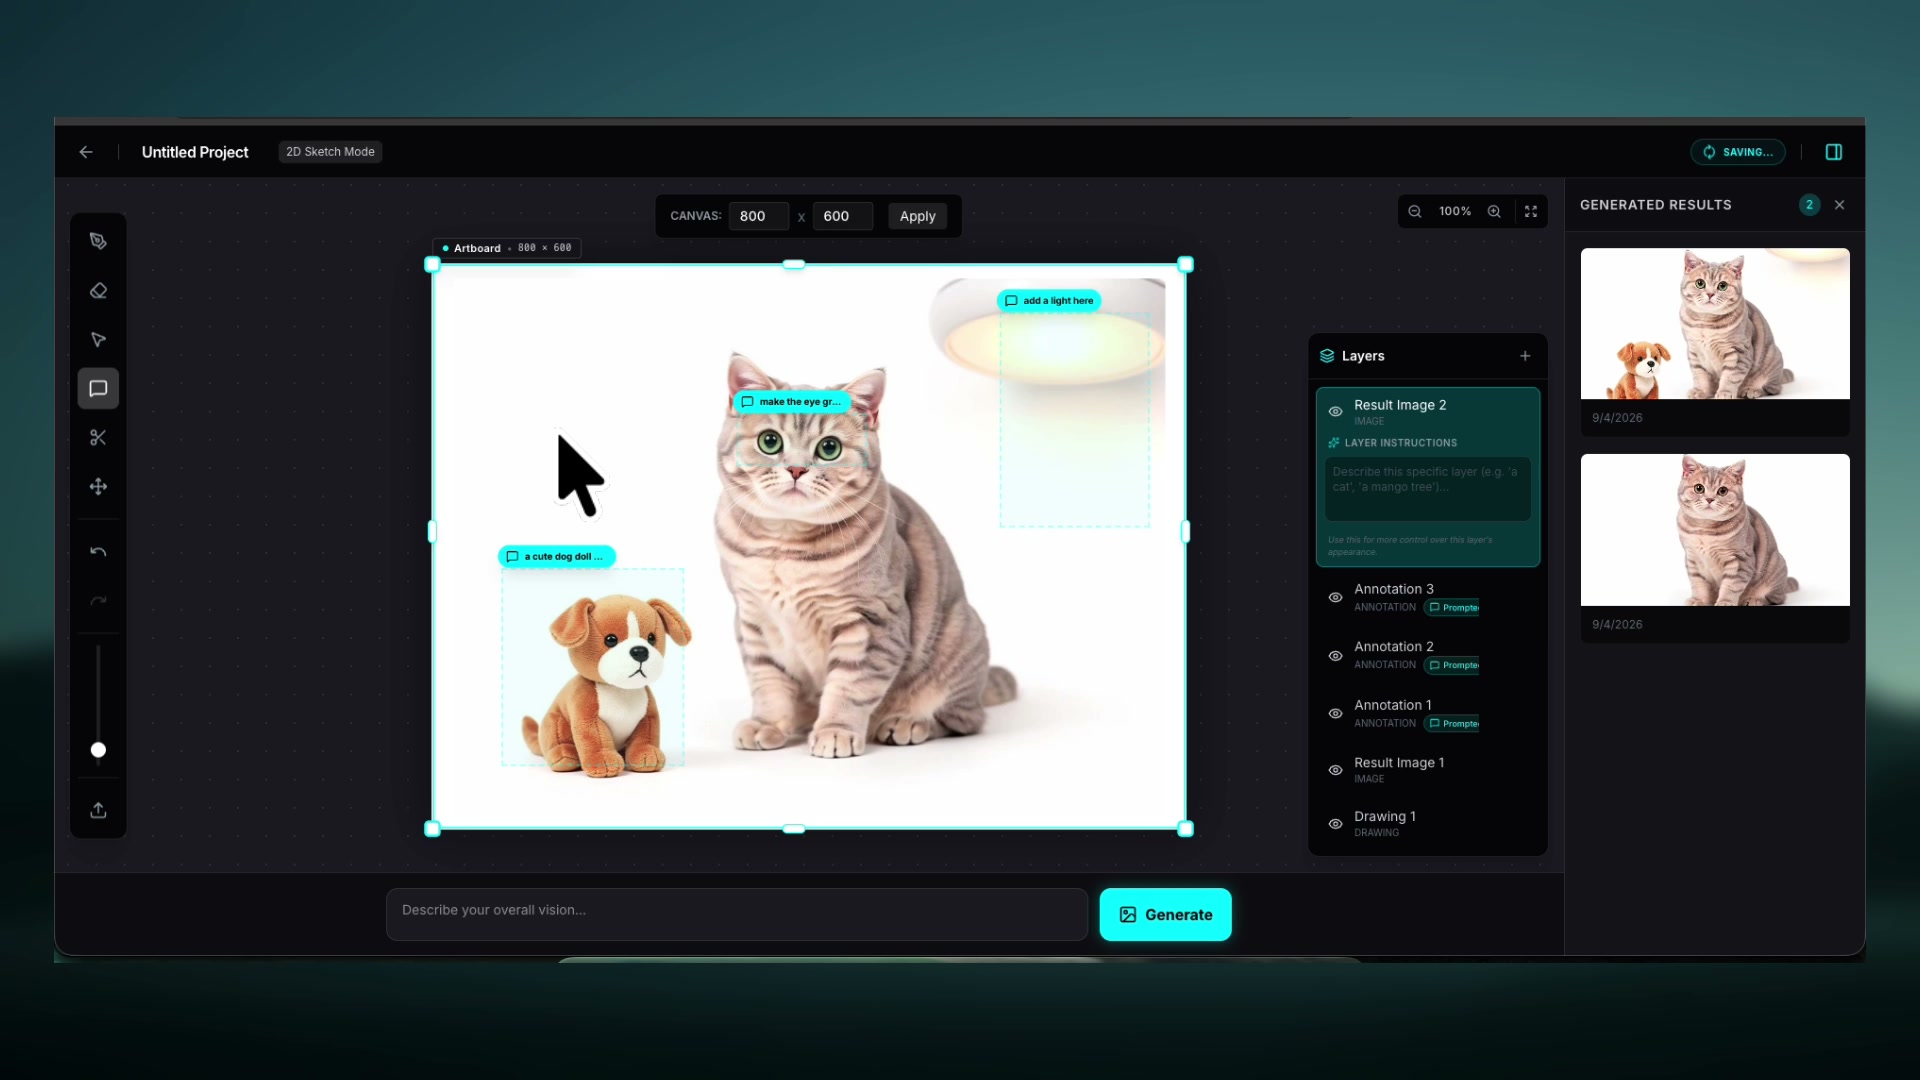
In the video demonstration below, we showcase Draw3D’s 2D spatial canvas designed specifically for precise image editing and manipulation using AI. Instead of fighting with global text prompts or cumbersome brush masks, creators direct changes using bounded spatial annotations and dedicated layer instructions.
Deconstructing the Multi-Target Editing Workflow
To understand why this workflow represents a paradigm shift for AI manipulation, let’s break down the exact actions performed in the demonstration:
1. Setting the Base Visual Anchor
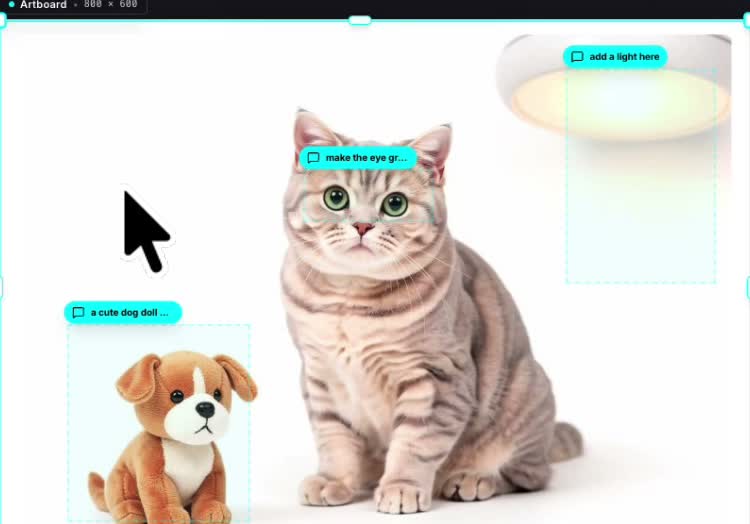
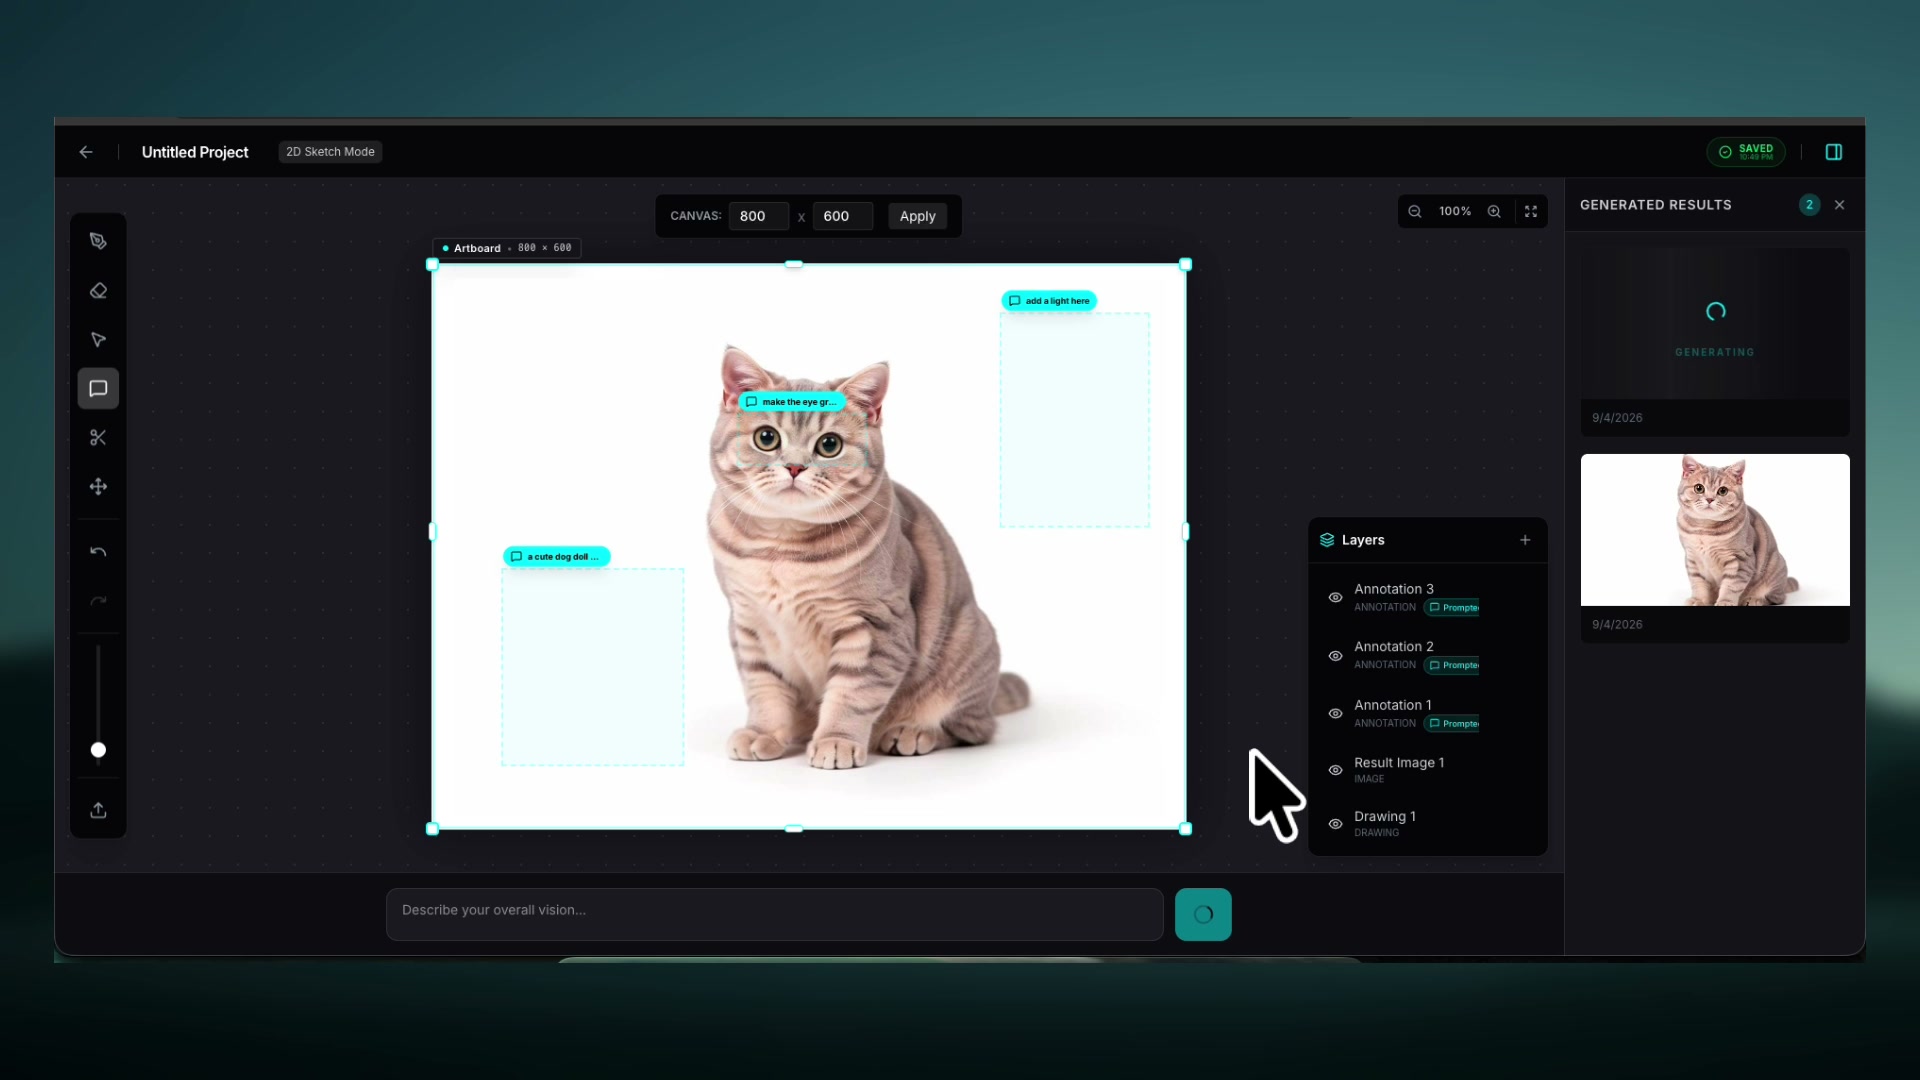
The session begins on an 800 × 600 canvas where an initial photorealistic subject is established (in this case, a studio portrait of a tabby cat). This becomes our locked base image layer (Result Image 1).
2. Defining Exact Spatial Bounding Regions
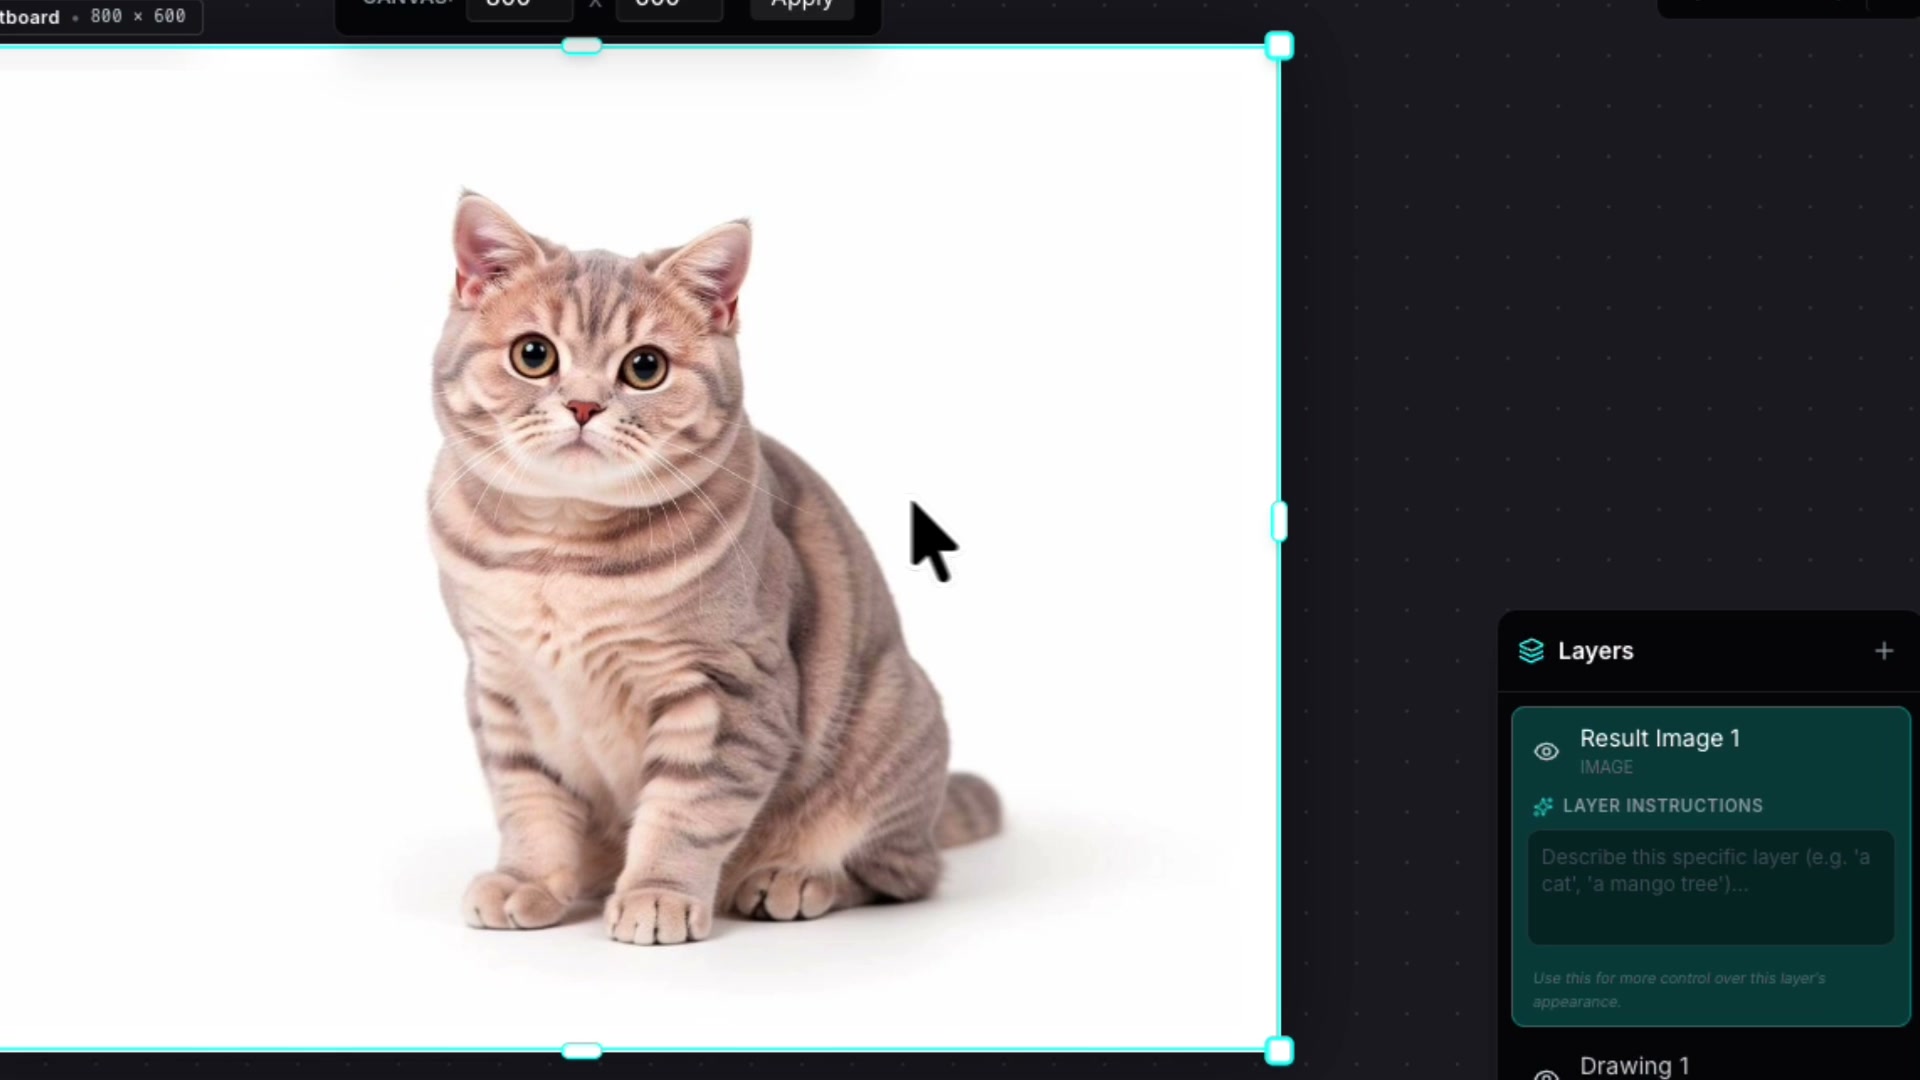
Rather than describing changes globally in a single bottom text bar, the creator draws targeted rectangular bounding boxes directly over the canvas coordinates where modifications must occur:
- Annotation 1 (Bottom Left): A spatial box positioned beside the cat in the empty floor area, labeled:
"a cute dog doll" - Annotation 2 (Top Right): An upper ceiling-level box designated for environmental illumination, labeled:
"add a light here" - Annotation 3 (Facial Center): A micro-region bounded strictly across the cat's ocular area, labeled:
"make the eye green"
3. Unified Cross-Attention Inference Pass
When you click Generate, Draw3D doesn’t process these edits as three disconnected operations. Instead, it performs a unified spatial diffusion pass:
- Zero Pose Destruction: The cat’s body, paws, whiskers, ear angles, and fur markings remain 100% untouched because no bounding box was drawn over them.
- Perspective-Aware Object Insertion: The dog doll is generated inside Annotation 1 with matching ground-plane contact shadows and lighting angles consistent with the cat.
- Dynamic Environmental Relighting: The ceiling lamp in Annotation 2 doesn't merely draw a static circle—it radiates a soft, ambient warm glow downwards across both the empty wall and the cat's upper contour.
- Localized Feature Modification: The cat's original amber eyes are transformed into striking emerald green irises while preserving the pupil slit, specular reflections, and eyelid anatomy.
Comparison: Approaches to AI Image Manipulation
| Capability | Global Text-to-Image | Standard Inpainting Brush | Draw3D Spatial Canvas |
|---|---|---|---|
| Subject Preservation | No (Re-rolls whole scene) | Partial (Mask edge artifacts) | 100% Coordinate Locked |
| Multi-Region Directing | Impossible (Prompt confusion) | One region at a time | Unlimited Parallel Regions |
| Relighting & Atmosphere | Changes entire image mood | Unaware of ambient bounce | Contextual Light Falloff |
| Layer History & Non-Destructive | None | Flat pixel raster only | Full Layer Stack with Toggles |
Key Use Cases for Precise AI Editing
This level of granular control unlocks critical commercial workflows across industries:
- Product Photography & E-Commerce: Swap package labels, add seasonal accessories, or reposition logos without needing a new physical photo shoot.
- Architectural Staging & Interior Design: Change kitchen backsplash materials, swap lighting pendants, or add decor pieces to existing renders while leaving structural walls and cabinetry untouched. Explore our Architecture Visualization Workspace for large-scale interior workflows.
- Character Concept Art: Modify costume details, eye colors, weaponry, or hand props across iterative character turnarounds while preserving facial likeness.
- Marketing Creative Variation Testing: Generate dozen of localized A/B variations for advertising banners in minutes without redrawing full compositions.
Best Practices for Flawless AI Manipulation
When working with spatial annotations in Draw3D, keep these practical tips in mind:
- Tight Bounding for Micro-Edits: When changing colors or small details (like jewelry or eye color), size your annotation box tightly around the target area to prevent unnecessary nearby pixels from shifting.
- Generous Margins for Relighting: If introducing a light source (like a ceiling lamp, candle, or neon sign), allow enough bounding space below or around the source so the model can cast realistic glow and shadow falloff.
- Use Descriptive Layer Prompts: Rather than vague keywords, tell the AI exactly what should occupy that specific region (e.g., "matte black metal floor lamp, warm 2700K illumination").
- Leverage the Layer Stack: Toggle visibility on individual annotation layers to compare variations before saving your final production render.
Conclusion: Moving from Random Generation to True Creative Direction
The future of generative AI in professional creative workflows isn’t about generating completely random art with a single sentence. It’s about director-level precision.
By unifying spatial annotations, localized natural language prompts, and non-destructive layers on an interactive canvas, Draw3D turns AI into a predictable, high-speed digital studio where you maintain total authority over every pixel.
Ready to experience precise image editing and manipulation using AI for yourself? Launch the Draw3D Canvas Workspace or explore all capabilities on our Features Overview.
Further Reading
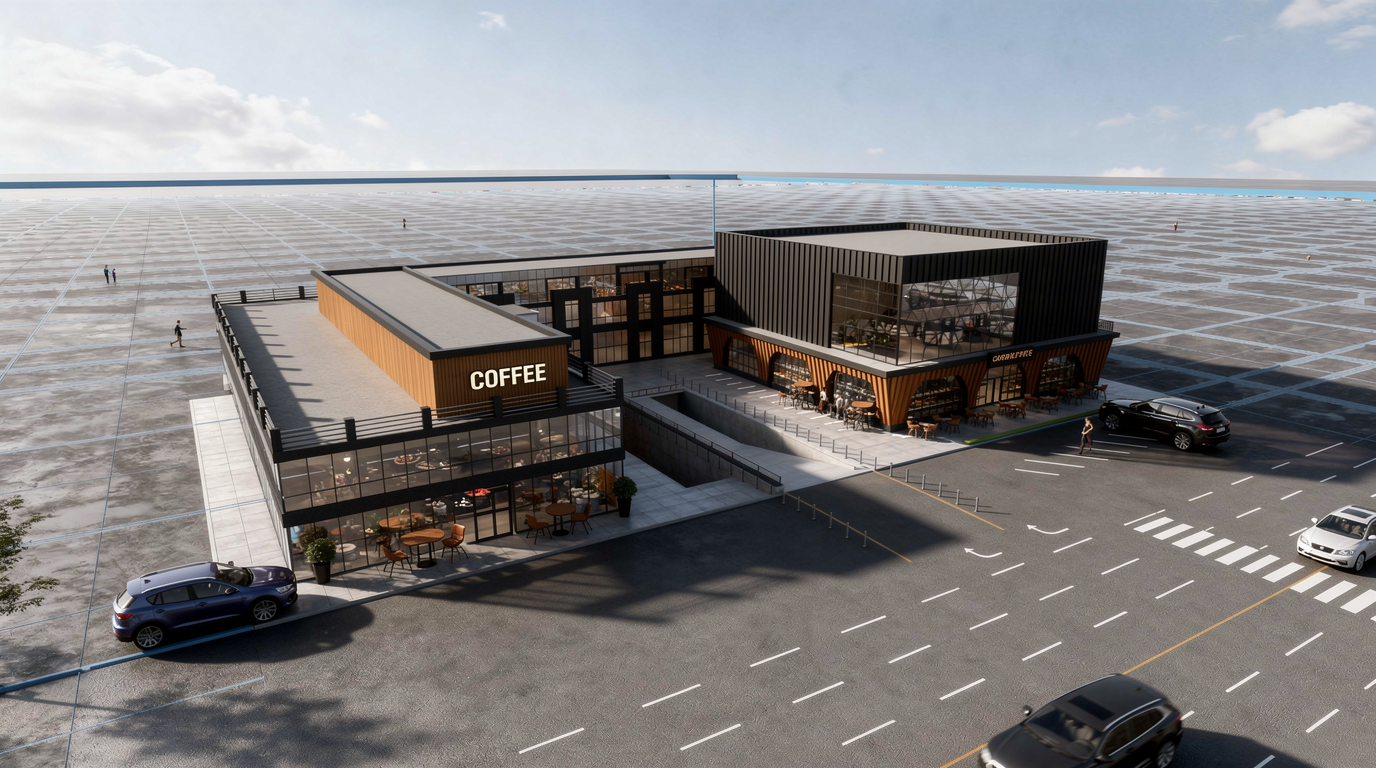
How You Can Use AI for Architectural Visualizations
Learn how AI can speed up architectural visualization from sketches and raw 3D scenes to polished renders and video using Draw3D.
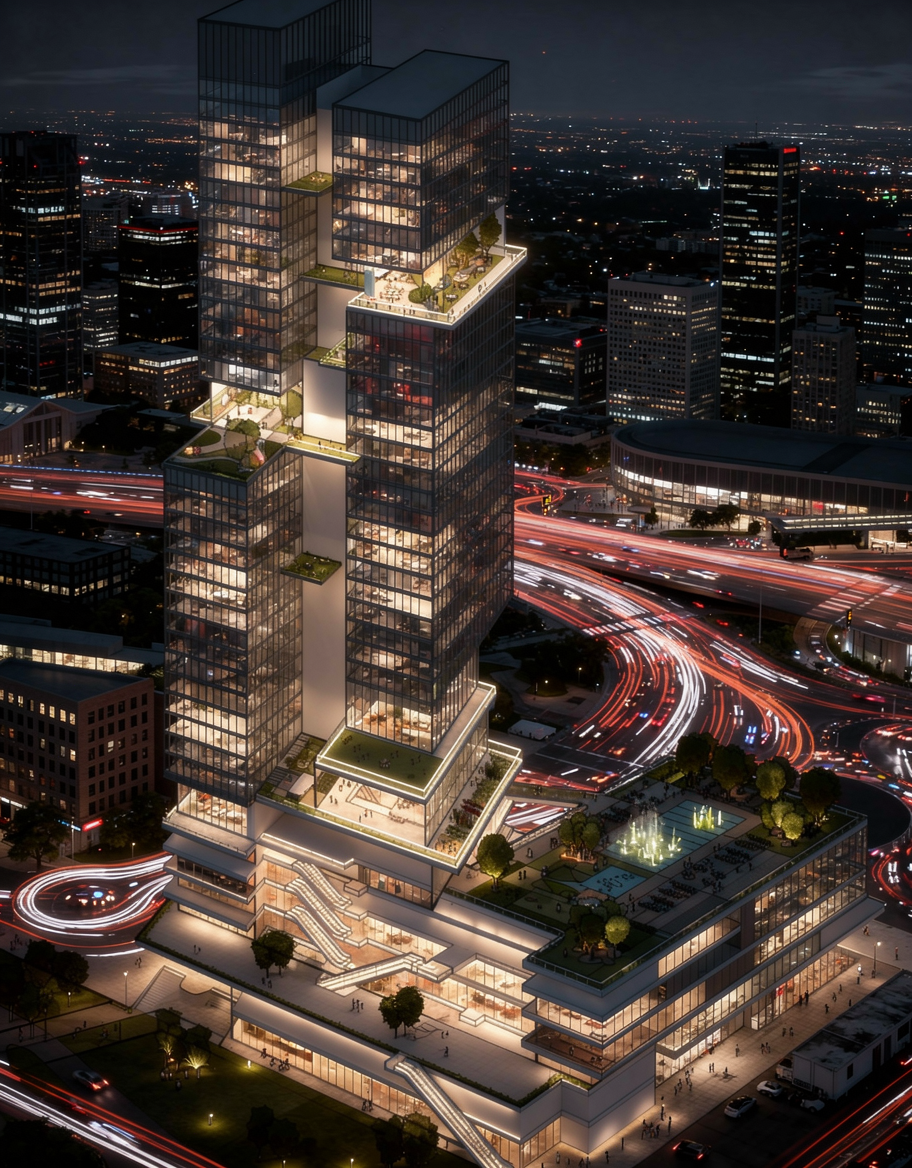
Sketch to Image AI: Turn Rough Drawings Into Realistic Renders in Seconds
Discover how sketch to image AI helps architects, designers, and creators turn rough drawings into realistic renders fast with Draw3D.
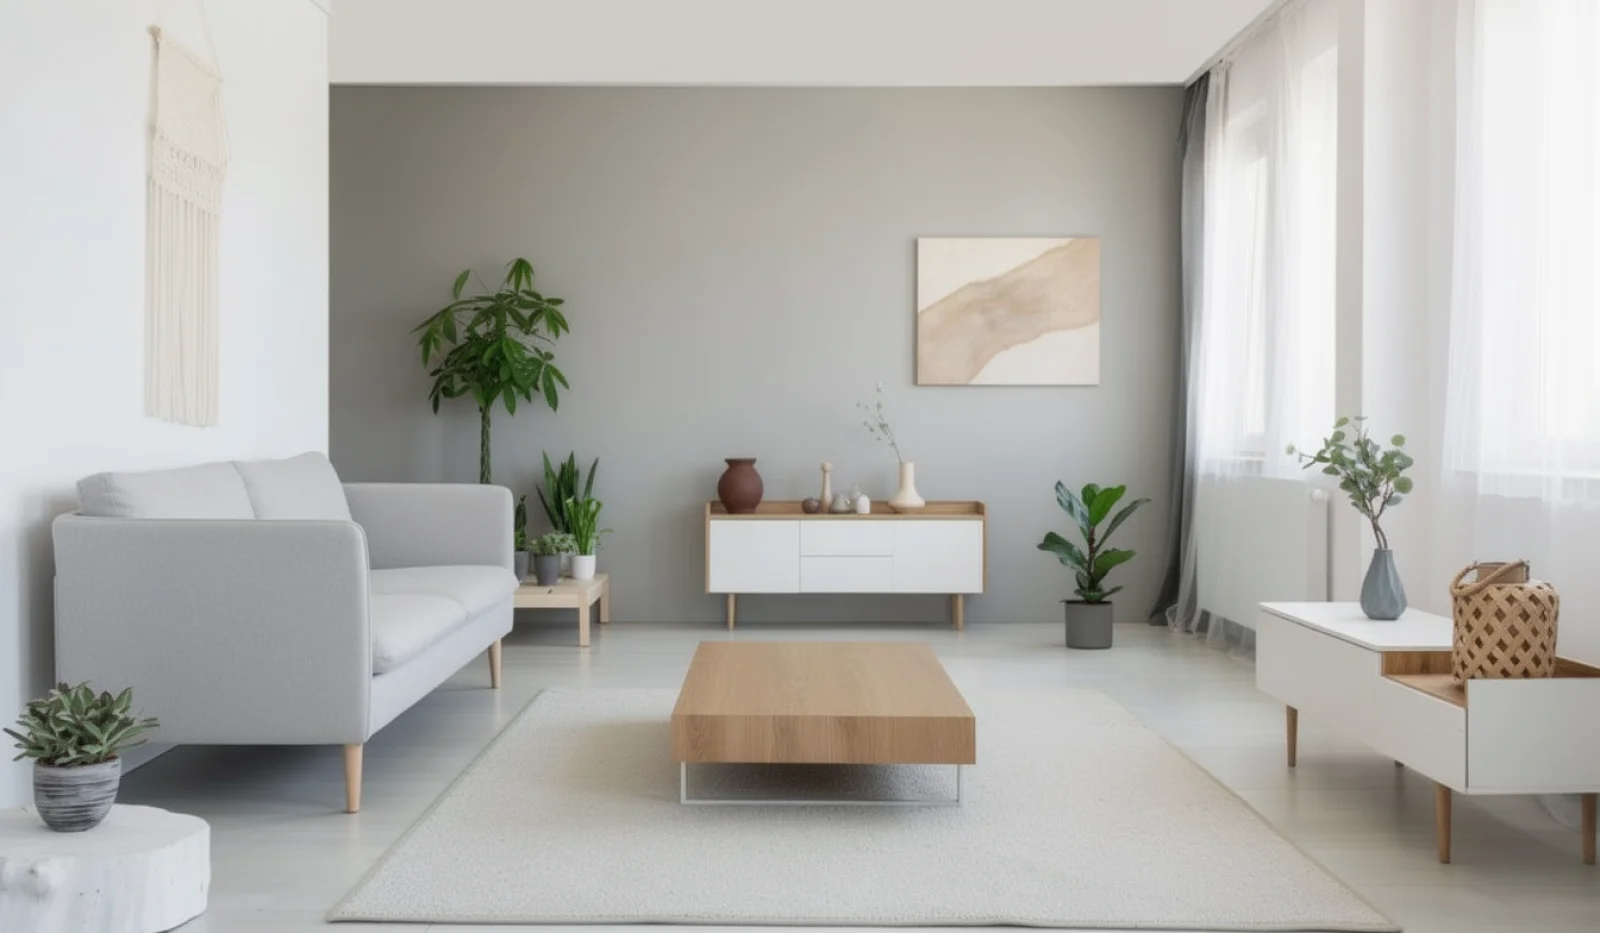
AI Interior Design: Design Your Interior Using AI With Draw3D
Learn how AI interior design tools like Draw3D let you transform rooms, annotate specific areas, and generate stunning redesigns in minutes.