Render With AI: Turn a Simple 3D Blockout Into a Realistic Scene
Learn how to render with AI using only a simple 3D blockout or screenshot, and see how Draw3D adds textures, lighting, atmosphere, and even video in seconds.
If you want to render with AI, you no longer need a fully textured, fully lit, production-ready 3D scene to get impressive results. With the right workflow, even a rough 3D blockout can be enough to generate a polished visual with detailed materials, cinematic lighting, and a much stronger final presentation.
This is exactly where Draw3D becomes useful. Instead of spending hours setting up textures, lighting rigs, and render settings, you can simply create a blockout, import the scene or even just upload a screenshot, choose a render style, and let AI do the heavy lifting.
Why rendering with AI changes the workflow
Traditionally, moving from a blockout to a final render takes a lot of manual work. You need to assign materials, build mood through lighting, adjust shadows, refine details, and then wait through render passes. AI changes that workflow by turning a simple visual structure into a much more finished result in one step.
That means you can focus on the composition and layout first, then let Draw3D handle the textures, atmosphere, depth, and realism. It is especially useful when you want fast concept visualization, presentation-ready images, or quick client previews without building every detail manually.
Start from a rough 3D blockout
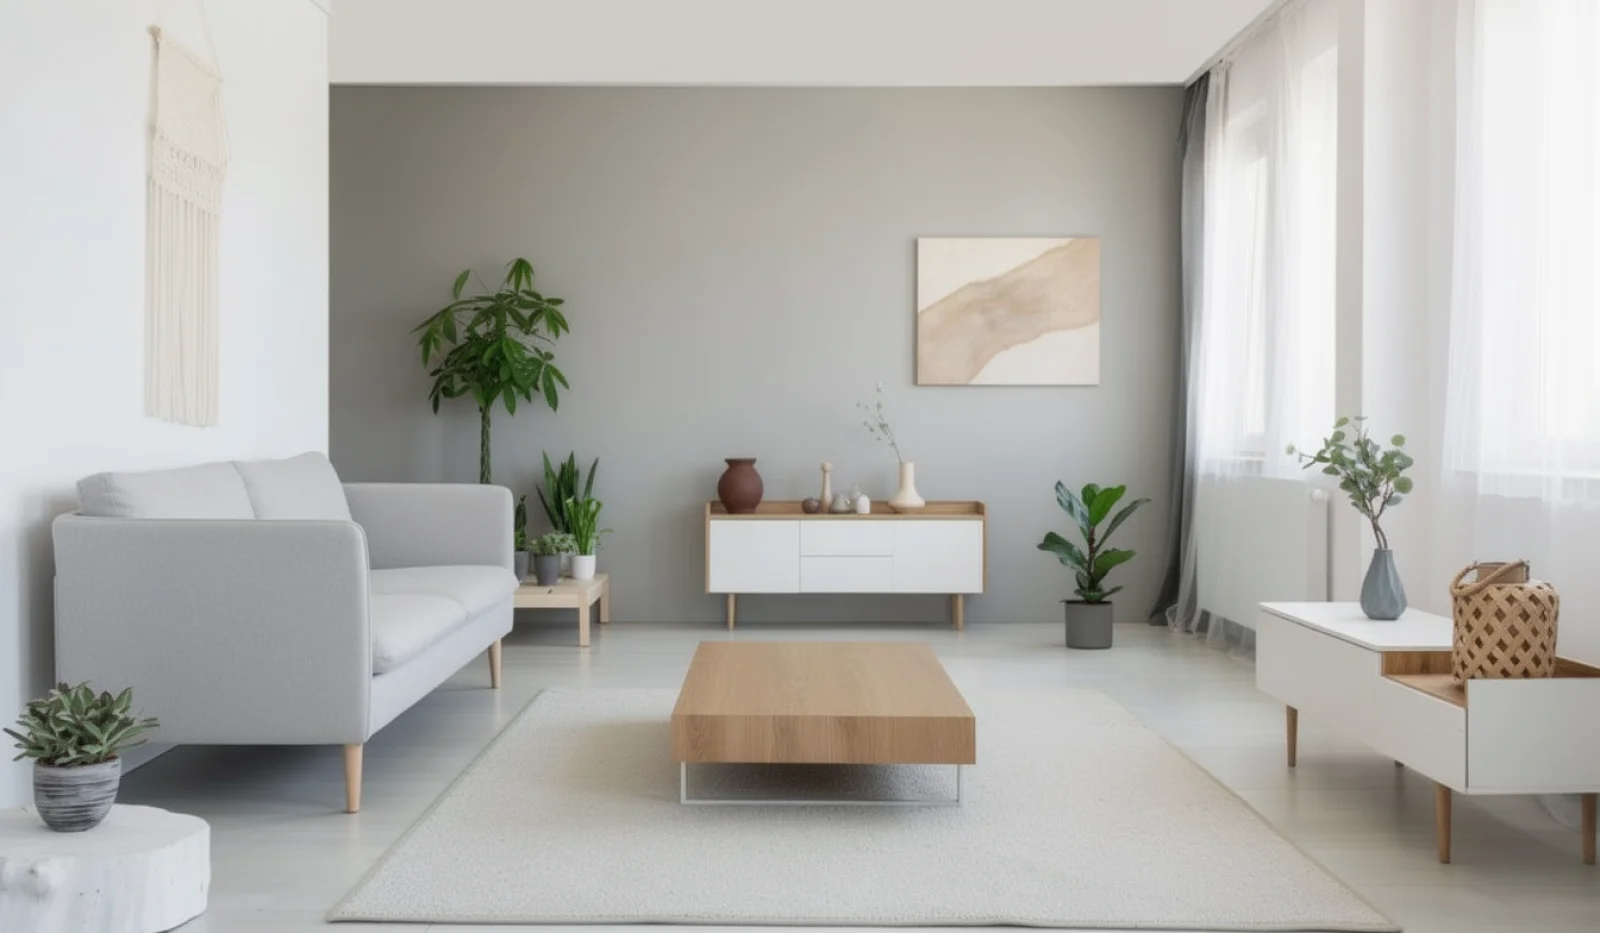
You do not need a polished model to begin. A simple blockout from Blender or any other 3D software is enough. Even if there is no lighting, no texturing, and no final detailing, AI can still understand the scene and transform it into something much more complete.
This is where AI really stands out. With just one click, the scene gains material detail, better lighting, visual depth, and a much more finished look.
You can import the full scene or just a screenshot
One of the most practical things about Draw3D is that you are not limited to a full 3D scene import. If you want a faster workflow, you can simply upload a screenshot of your blockout or render preview instead. That gives you a very flexible way to test ideas without preparing a full production file every time.
Once uploaded, all you need to do is select a render style and hit render.
From simple render to cinematic output
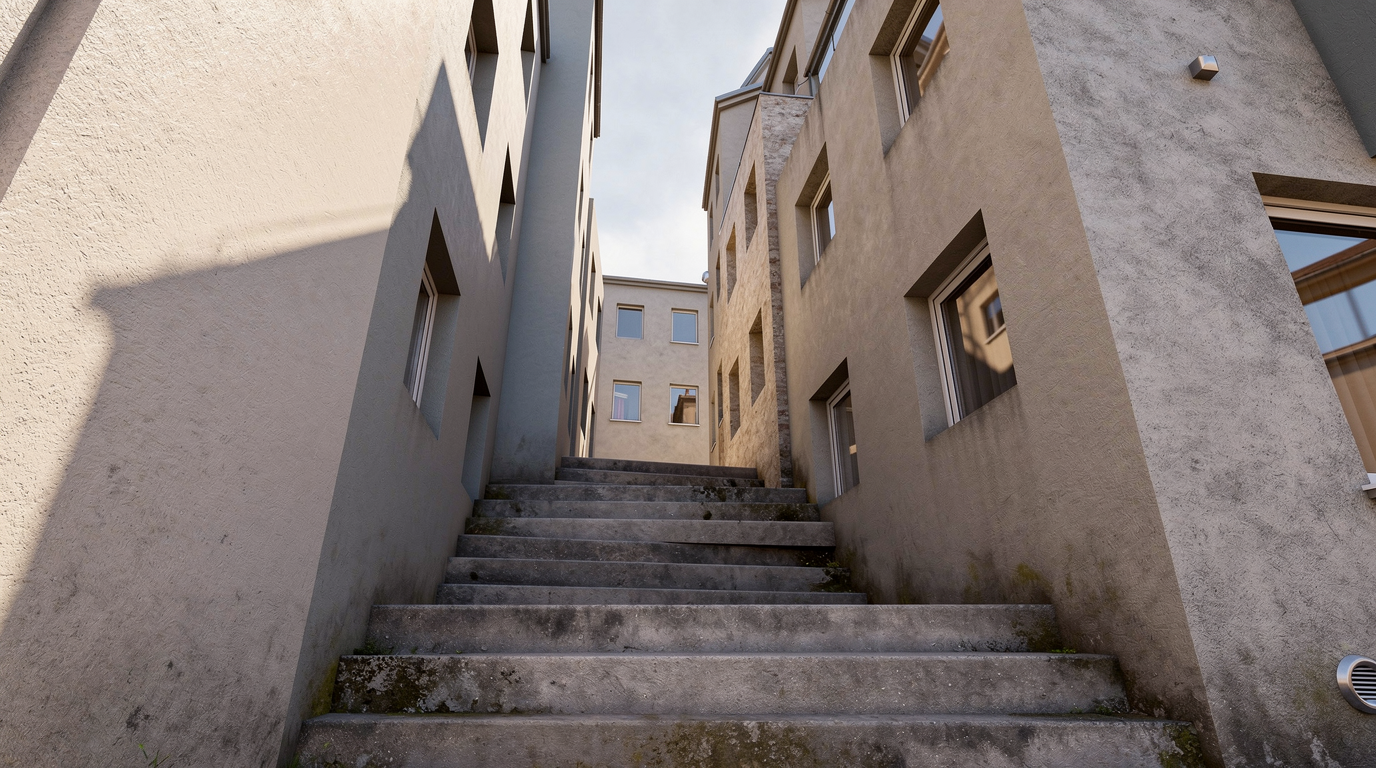
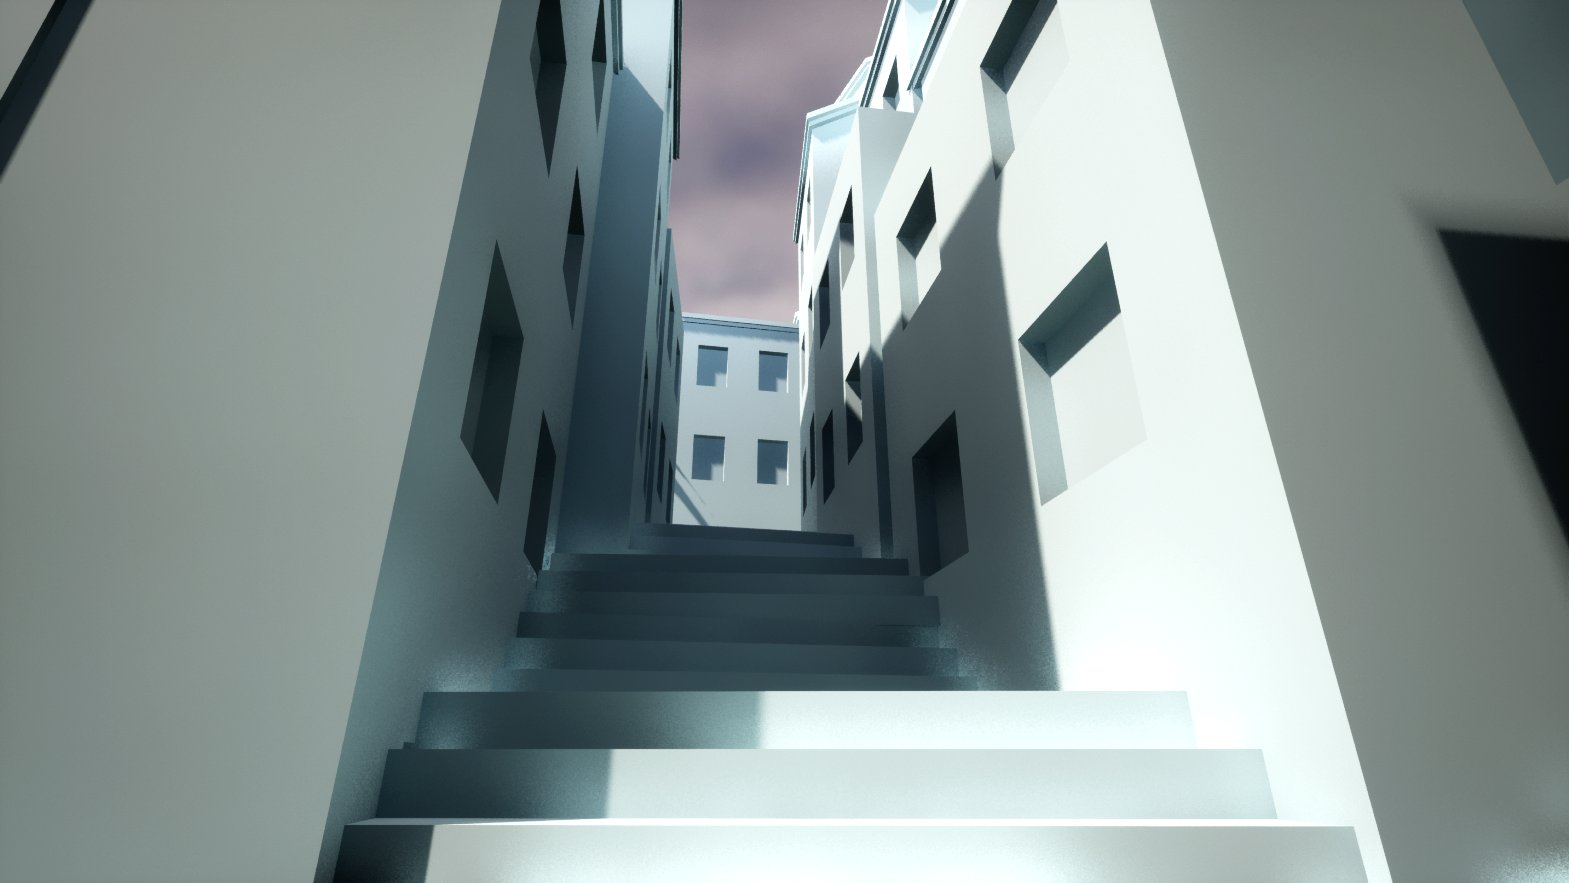
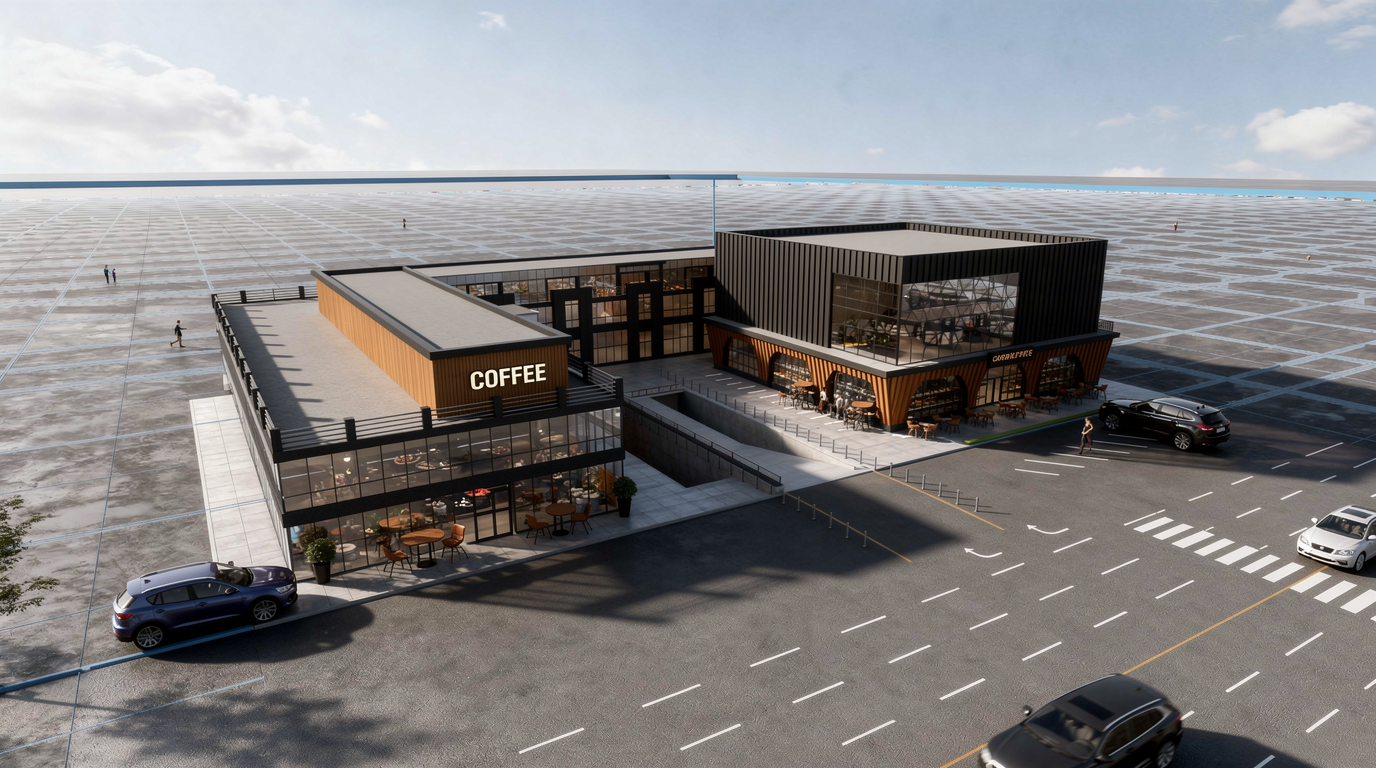
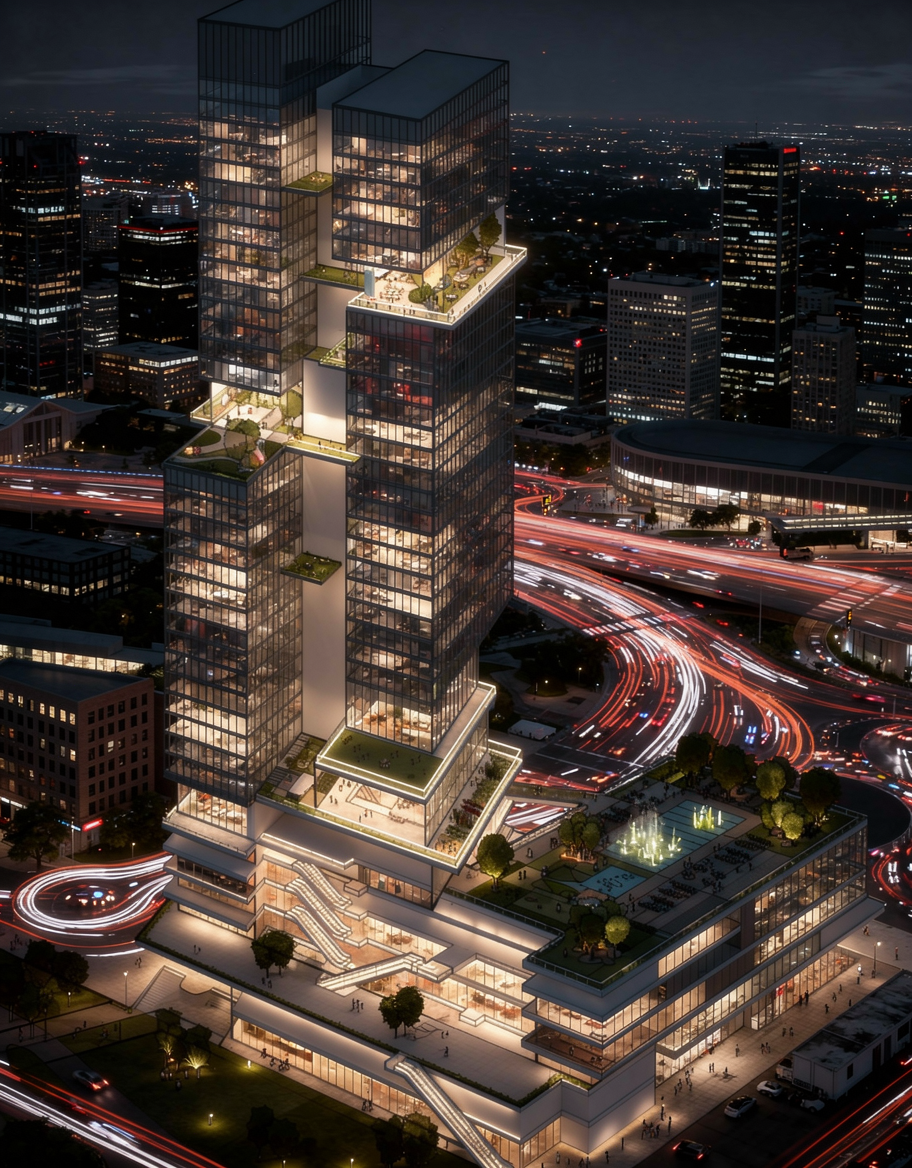
Here is another example. The base image starts as a simple render with minimal visual polish.

This example shows how the AI understands the context of the image and builds a much stronger final visual from it. Instead of a flat preview, you get something that feels closer to a finished concept render.
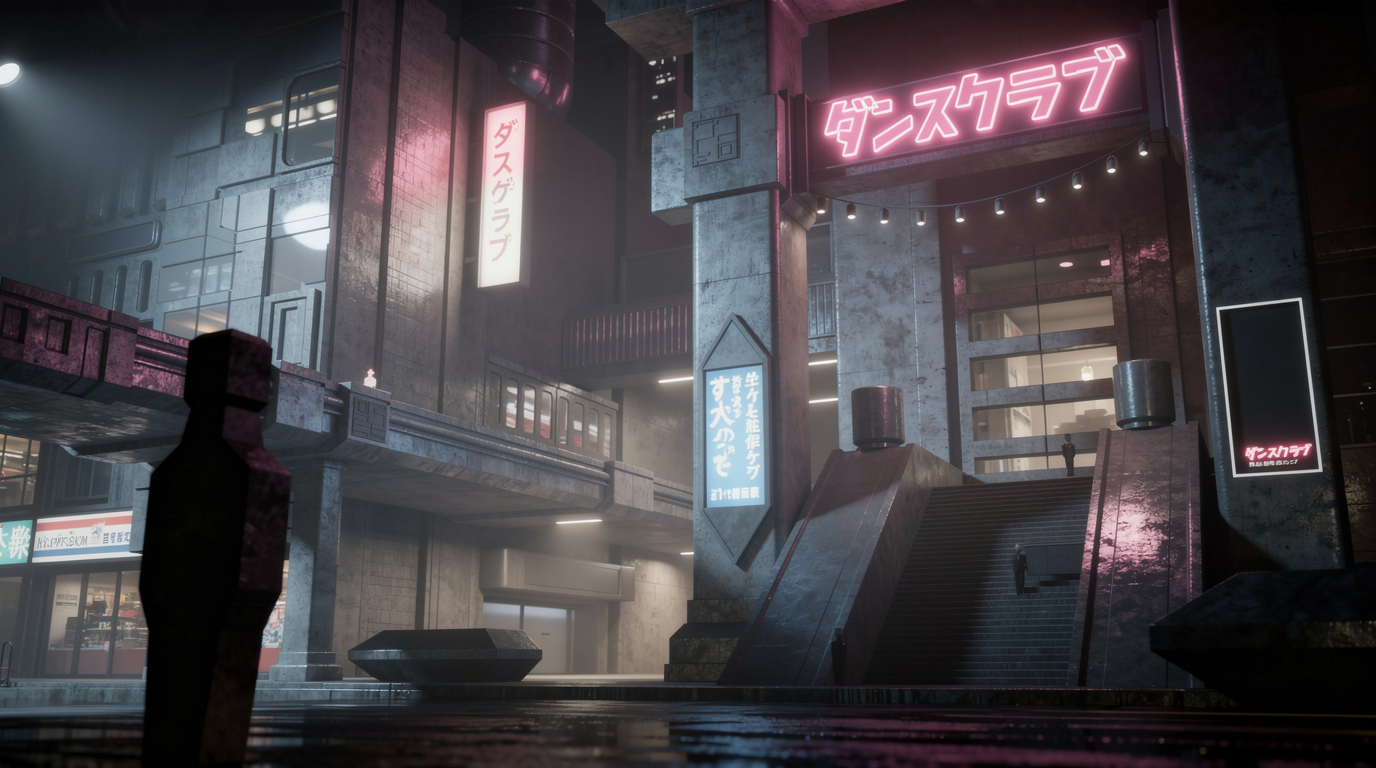
Turn the result into a video
It does not stop at still images. Once you have your AI-generated render, you can also turn it into a video for a more dynamic presentation.
Why Draw3D is useful for blockout rendering
Draw3D makes sense for this workflow because it reduces the gap between rough 3D planning and final presentation. You can work fast in your preferred 3D software, keep your focus on form and composition, and let AI handle the styling and polish.
This is especially useful for architects, interior designers, environment artists, concept designers, and product visualizers who need to present ideas quickly without building every texture and lighting setup by hand.
Final thoughts
If you want to render with AI using only a rough blockout, Draw3D offers a very practical workflow. You can start with a simple 3D scene or even just a screenshot, then turn it into a polished render with textures, lighting, and atmosphere in seconds.
And when you want to go further, you can turn that same render into a video for an even stronger presentation.
Further Reading
How You Can Use AI for Architectural Visualizations
Sketch to Image AI: Turn Rough Drawings Into Realistic Renders in Seconds