Blender to AI Render: How to Turn 3D Clay Models & Blockouts into Photorealistic Art in Seconds
A definitive guide to the modern 3D pipeline: skip hours of tedious UV unwrapping, complex PBR node trees, and overnight Cycles rendering by transforming raw Blender clay blockouts directly into photorealistic concept art with spatial AI.
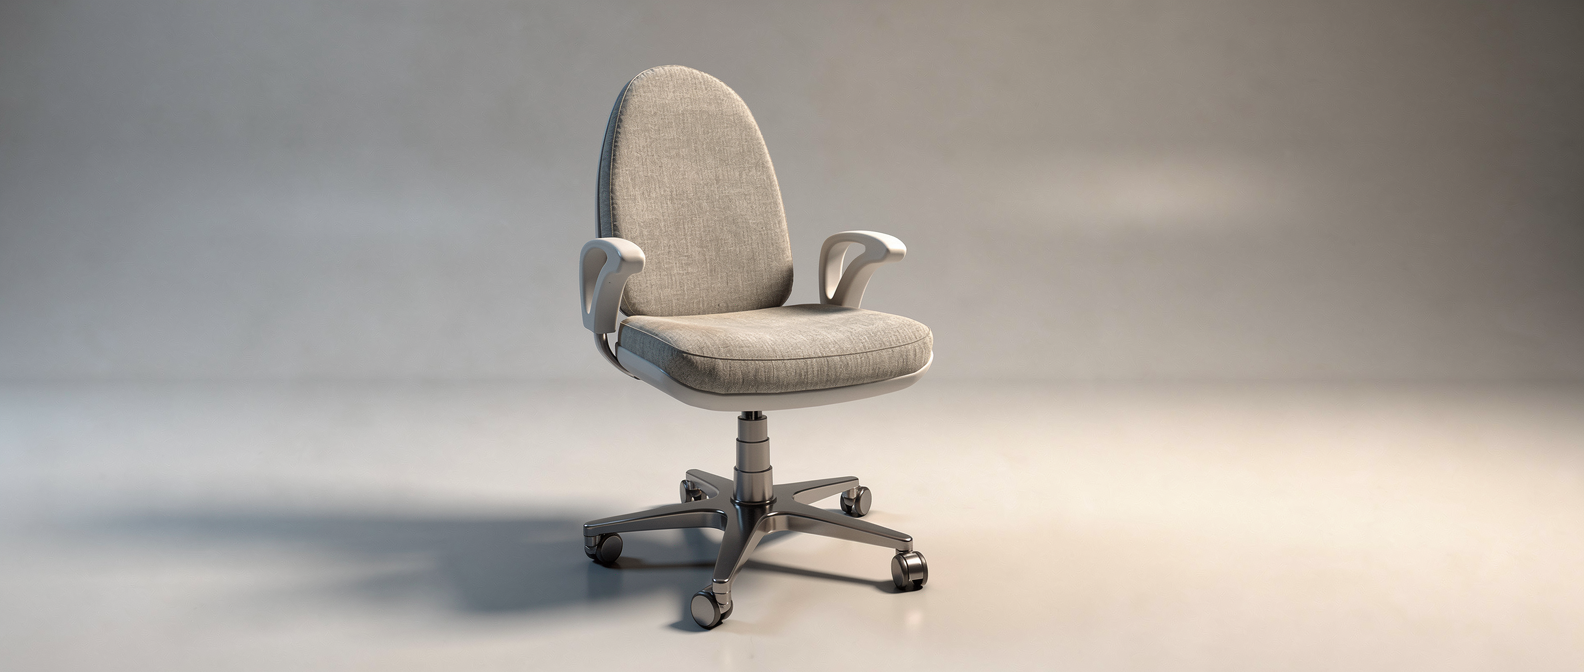
Every 3D artist, environment designer, and concept illustrator knows the rendering bottleneck. You spend 20 minutes sketching a compelling visual composition in Blender using primitive cubes, bevels, and basic lighting. But getting that blockout client-ready traditionally takes days: tedious UV unwrapping, hunting through gigabytes of seamless PBR textures, fiddling with complex procedural shader node trees, positioning bounce lights, and waiting for GPU fans to scream through multi-hour Cycles bakes.
If the director or art lead asks for a different lighting mood—say, moving from a sterile midday sun to a moody cyberpunk rainstorm at twilight—the entire texturing and lighting pipeline must be reconstructed from scratch.
Today, a new generation of creative workflows has arrived: Blender to AI Rendering. Instead of fighting unpredictable text prompts that hallucinate warped architecture or warped props, modern 3D artists combine mathematically strict Blender camera perspective with spatial generative AI synthesis.
Why Pure Text-to-Image AI Fails 3D Artists (The "Slot Machine" Problem)
Over the past two years, millions of creators experimented with pure text-to-image generators like Midjourney, DALL-E, or Stable Diffusion prompts. For random inspiration, they are fun. But for professional 3D and concept pipelines, text prompts alone are fundamentally unusable:
- No Perspective Lock: You cannot tell a text model "place a 50mm camera at 1.7 meters height with a 12-degree tilt". The AI will invent its own horizon line, warp the vanishing points, and place buildings wherever it wants.
- No Asset Continuity: If you prompt "sci-fi corridor with yellow warning pipes on the left", every single generation will scramble the location, radius, and shape of those pipes.
- Zero Scale Control: Bounding boxes, doorway heights, and vehicle proportions are constantly distorted, breaking real-world human scale.
This is why professional game studios and visual effects artists use Spatial Directing. By providing a 3D blockout rendered from Blender, you dictate the geometry, depth planes, and camera optics. The AI's sole job is to compute the micro-textures, photorealistic material lighting, reflections, and atmospheric volumetric scattering on top of your geometry.
The 4 Pillars of the Blender-to-AI Pipeline
Focal Length & Camera Locking
Lock your Blender camera focal length (e.g., 24mm for expansive architectural establishing shots, 85mm for cinematic hero props). The AI preserves the exact lens distortion and perspective.
Zero UV Unwrapping
Forget spending hours marking seams, unwrapping islands, and painting texture masks. Primitive geometric meshes receive hyper-realistic displacement, wear, and weathering automatically.
Depth & Normal Preservation
Spatial AI evaluates the z-depth falloff of your Blender scene. Foreground objects maintain sharp geometric silhouettes while distant silhouettes recede into natural haze.
Instant Look-Dev Iterations
Generate 10 completely different environmental looks—from clean Scandinavian minimalism to weathered brutalist concrete at dusk—in less time than it takes to render a single Cycles tile.
Step-by-Step Tutorial: Rendering a Blender Scene with Draw3D
Step 1: The 10-Minute Blockout in Blender
Keep your 3D modeling as simple as possible. You do not need subdivision surface modifiers, high-poly sculpting, or bevel modifiers on every edge. Use primitive shapes—cubes, cylinders, planes, and basic boolean cutouts—to establish:
- The primary subject massing (e.g., a futuristic vehicle, villa, or sci-fi control console).
- Human scale references (drop in Blender's default human mannequin rig or a 1.8m cube).
- Clear foreground, midground, and background visual separation.
Once your scene is arranged, switch to the Camera View (Numpad 0). Set your viewport display to Solid Mode with Cavity and Shadow enabled (or use Workbench render engine). Capture a clean screenshot of the viewport or render a quick 1-sample clay image.
Step 2: Uploading into Draw3D's 3D-to-Render Studio
Launch Draw3D and select the 3D Model to Render tool. Upload your viewport capture. Draw3D’s spatial engine analyzes the edge boundaries and depth hierarchy of your Blender composition.
Step 3: Directing Materials, Lighting & Ambiance
Instead of typing a vague prompt, describe the physical materials and lighting characteristics you want applied to the geometric volumes:
"Cinematic modernist brutalist villa, board-formed dark concrete walls, floor-to-ceiling panoramic glass windows, warm interior recessed lighting, wet asphalt driveway, overcast rainy morning reflections, 35mm photograph, 8k resolution, architectural digest style."
Set the Structure Guidance slider. A guidance value between 75% and 85% locks the Blender geometry rigidly in place while allowing the neural network to synthesize realistic micro-textures (water droplets, wood grain, concrete pores, and metallic sheen).
Step 4: Regional Inpainting & Material Swapping
What if you love the building exterior, but want to swap the patio floor from travertine tile to polished terrazzo? With Draw3D's interactive inpainting brush, simply mask the floor plane and type "polished terrazzo marble with subtle brass inlays". In under 4 seconds, only the selected region is updated, maintaining flawless perspective and lighting continuity with the rest of your scene.
Step 5: 8K Production Upscaling
Once your composition is locked, trigger the 8K Pro Upscaler. Draw3D injects photorealistic micro-details, edge sharpening, and sub-surface material scattering, producing print-ready visuals suitable for art books, client presentations, or 4K marketing campaigns.
Three High-Value Use Cases for 3D Artists
1. Environment Concept Art for Video Games & Film
Concept artists at AAA studios rarely paint from a completely blank 2D canvas. They drop basic primitives into Blender to establish dynamic wide-angle three-point perspective. Using Draw3D, an artist can pitch 5 completely different aesthetic biomes (Cyberpunk Neon, Abandoned Post-Apocalyptic, Ancient Stone Temple, Solarpunk Greenhouse) using the exact same Blender camera setup before lunch.
2. Architectural Schematic Design & Pitch Decks
During early schematic client reviews, clients often struggle to visualize spatial massing from untextured wireframes. By rendering the Blender massing with AI, architects can deliver realistic daytime, dusk, and nighttime vignettes without hiring expensive third-party 3D visualization studios.
3. Hard-Surface & Product CMF Exploration
Industrial designers modeling electronic hardware, footwear, or automotive silhouettes can test dozens of Color, Material, and Finish (CMF) variations—anodized aluminum, matte carbon fiber, brushed brass, translucent acrylic—in seconds.
Pro Tips for Getting Crisp AI Renders from Blender
- Turn on Ambient Occlusion in the Viewport: Adding soft contact shadows in Blender's viewport shading helps the AI differentiate overlapping objects and creates cleaner depth boundaries.
- Place Primitive Human Mannequins: AI models are hyper-sensitive to human silhouettes. Adding a simple low-poly human figure instantly anchors the scale of surrounding architectural elements, ceilings, and furniture.
- Use High-Contrast Lighting in Workbench: A directional sunlight source in Blender creates clear shadow cutoffs, guiding the AI on where cast shadows and bright specular highlights should appear in the final render.
Frequently Asked Questions
Will AI change my Blender camera angle or object placement?
Do I need a high-end RTX graphics card to run Blender to AI rendering?
Can I use AI-rendered images for commercial game and film projects?
What file format should I export from Blender?
Stop Waiting for Hours on Cycles Bakes
Take your raw Blender blockouts, SketchUp models, or rough 3D compositions and turn them into studio-quality photorealistic visuals in under 5 seconds.
Conclusion: The Future of 3D Ideation
Traditional raytracing engines like Cycles and V-Ray will always have their place for final mechanical engineering simulations and millimeter-accurate BIM construction documents. But for concept design, mood exploration, pitch decks, and rapid artistic ideation, Blender to AI rendering gives creators superpower-level velocity.
Start with your blockout, direct the vision, and let spatial AI handle the heavy lifting.
Further Reading
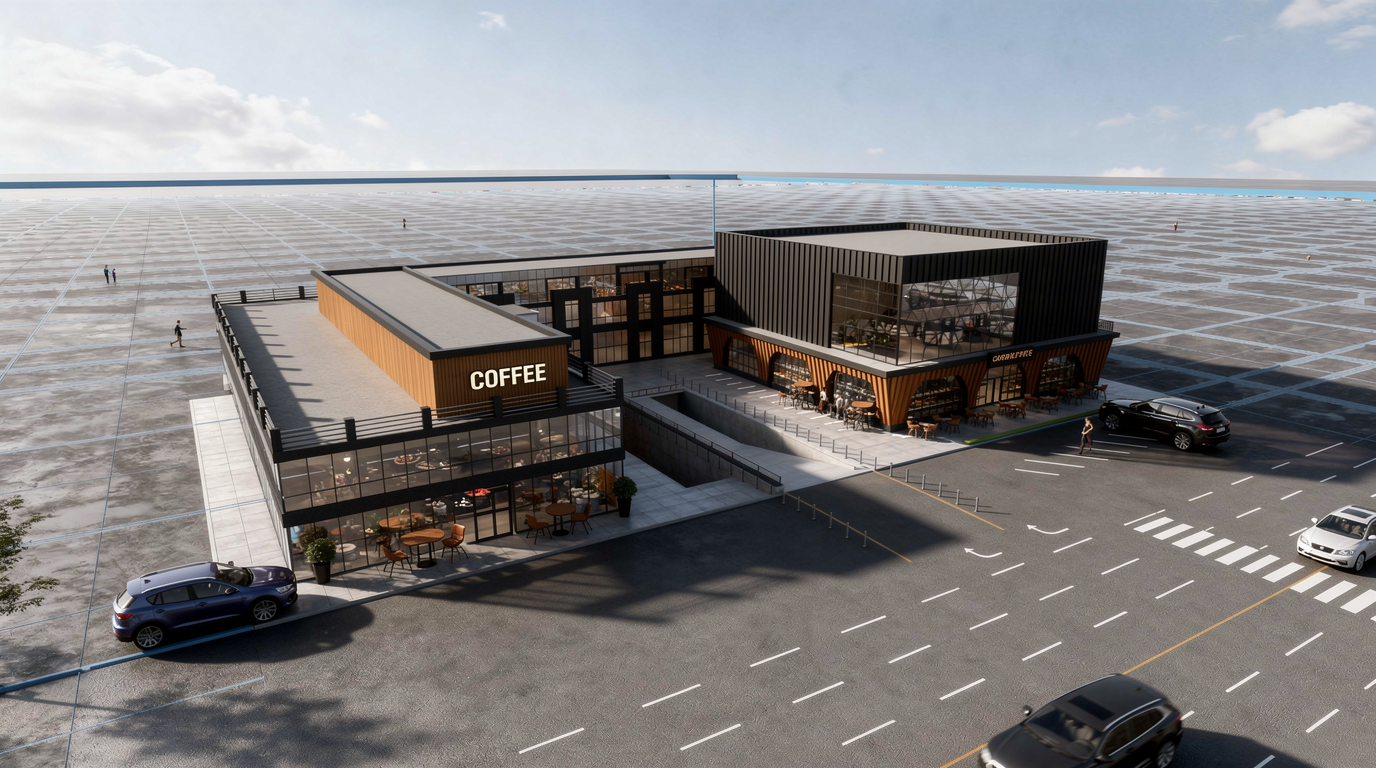
How You Can Use AI for Architectural Visualizations
Learn how AI can speed up architectural visualization from sketches and raw 3D scenes to polished renders and video using Draw3D.
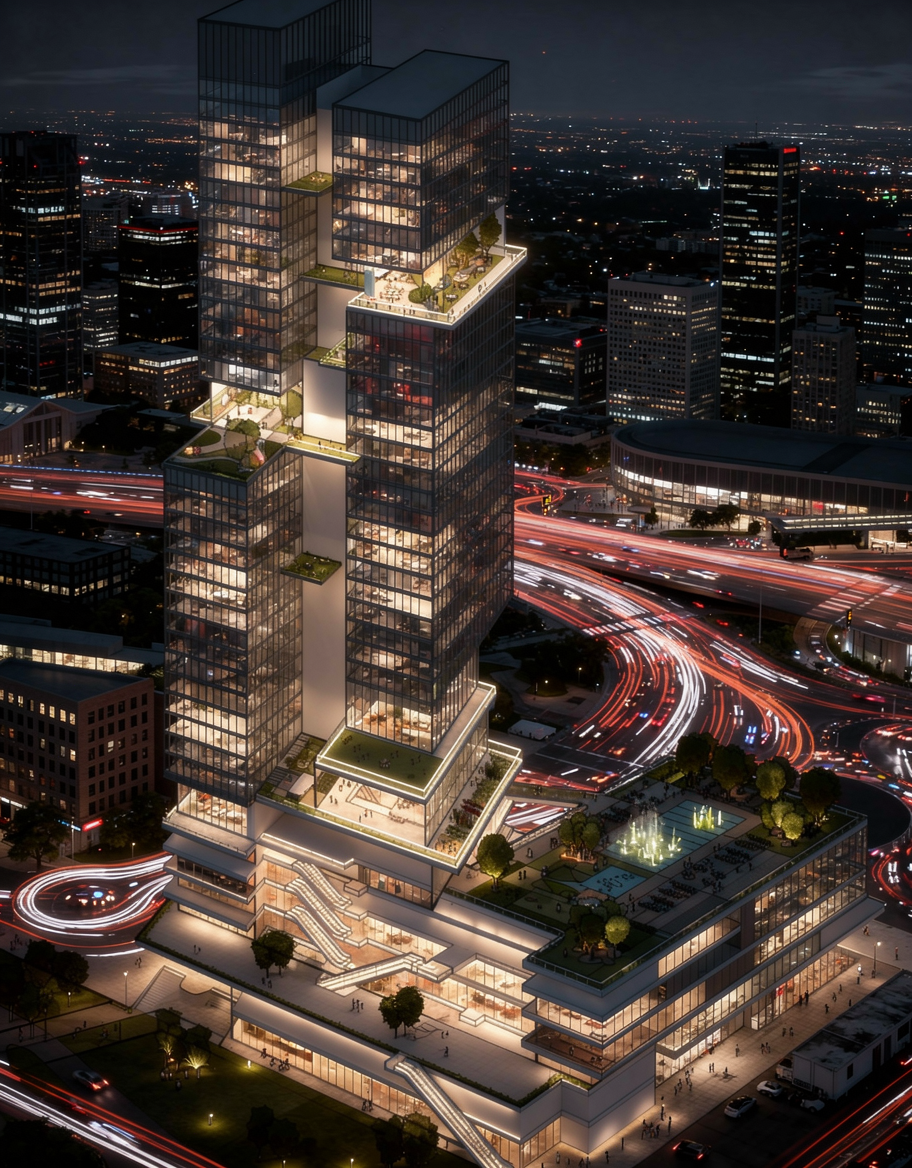
Sketch to Image AI: Turn Rough Drawings Into Realistic Renders in Seconds
Discover how sketch to image AI helps architects, designers, and creators turn rough drawings into realistic renders fast with Draw3D.
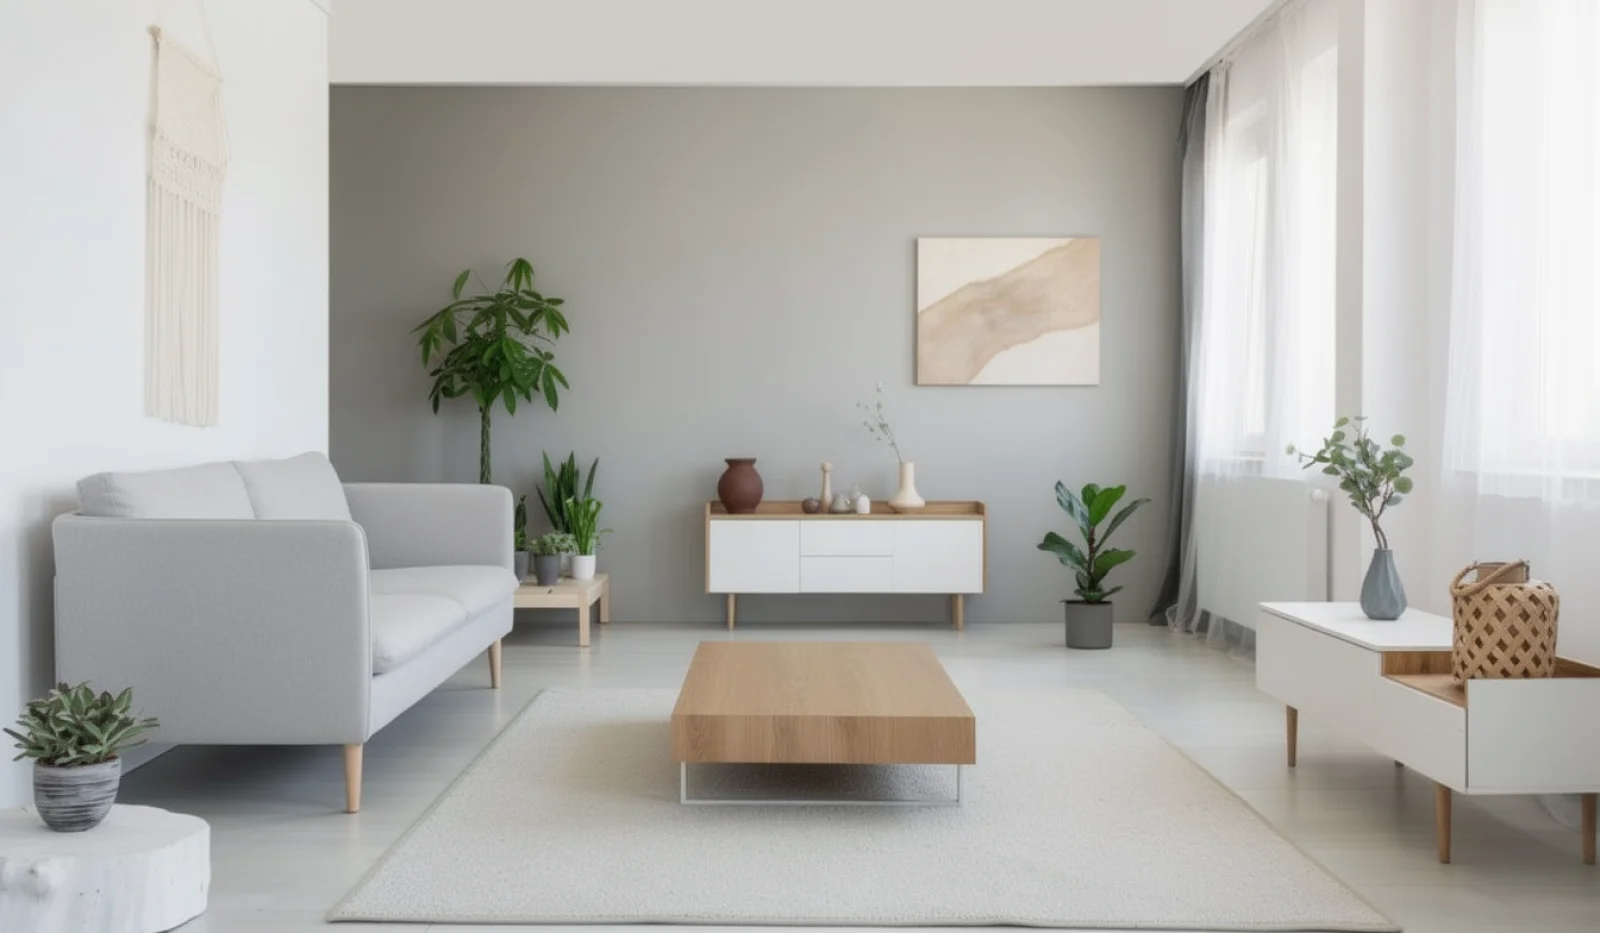
AI Interior Design: Design Your Interior Using AI With Draw3D
Learn how AI interior design tools like Draw3D let you transform rooms, annotate specific areas, and generate stunning redesigns in minutes.